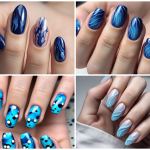
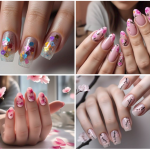
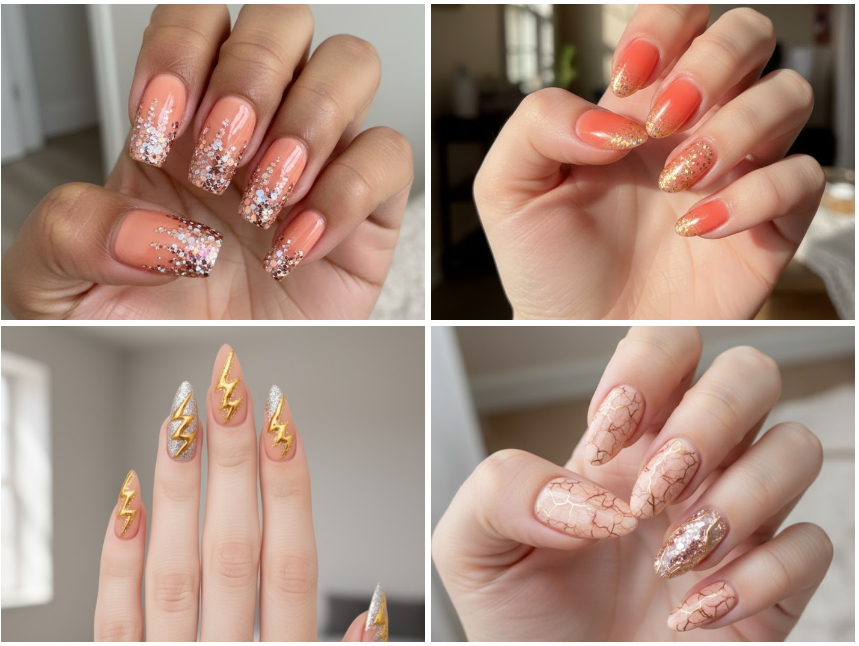
Looking for fun, age-appropriate nail art your tween will actually love? We know that being a parent and a nail artist comes with its own set of worries—making sure designs are safe for kids while still being super cute. That’s why we’ve handpicked 11 playful ideas—from rainbow sprinkle nails to cheerful polka dots—that strike the perfect balance between creativity and simplicity.
Rest assured, every design uses non-toxic, kid-safe polishes and gentle press-ons (no harsh gels or acrylics!). Experts recommend keeping kids’ nails short and avoiding heavy chemicals, so safety comes first—sparkle comes second.
If you’re just starting out with at-home manicures, this beginner-friendly nail care guide breaks down the basics for happy, healthy hands.
11 Cute Nail Designs for 9-10 Year-Olds:
1. Miniature/Micro Nail Art

Playful, colorful designs featuring tiny whimsical shapes (flowers, abstract forms) on each nail. Bright colors and delicate details create a youthful, cheerful look perfect for kids.
Apply: Use a fine nail art brush or dotting tool to hand-paint whimsical shapes (flowers, abstract forms) on a bare or clear-coated nail. Seal with a glossy top coat.
2. Solid Color Manicure

Simple light blue or mint green nails with a clean, polished finish. No patterns—ideal for versatility and complementing outfits.
Apply: Apply 1–2 coats of light blue/mint green polish for full coverage. Finish with a quick-dry top coat for shine.
3. “Made in Milan” Color Street Nail Strips
Deep brown-red stripes with glitter accents. Made from real nail polish for easy, mess-free application; lasts up to 10+ days.
Apply: Peel, press, and smooth pre-cut glitter-accented strips onto nails. Trim excess and file edges. No top coat needed.
Shared with: Style 7 (Jamberry Wraps) uses similar application.
4. Sprinkle/Sprinkles and Frosting Nails
Light pink or nude base resembling frosting, topped with colorful sprinkle-like dots. Mimics a dessert-inspired aesthetic.
Apply: Paint a light pink/nude base. Use a dotting tool to randomly place multicolored “sprinkle” dots. Seal with top coat.
Shared with: Style 6 (Polka Dots) uses similar dotting tools but structured patterns.
5. Pink and White Children’s Manicure
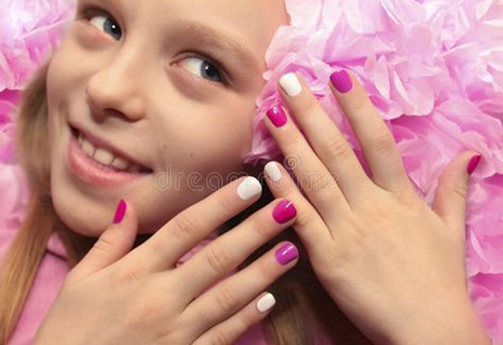
Alternating pink and white nails for a playful, multicolored look. Popular for its simplicity and vibrancy.
Want to go a little bolder with colors? These pink and purple combos are great ideas to transition into tween and teen styles!
Apply: Alternate pink and white polish on each nail. Clean up edges with a brush dipped in acetone.
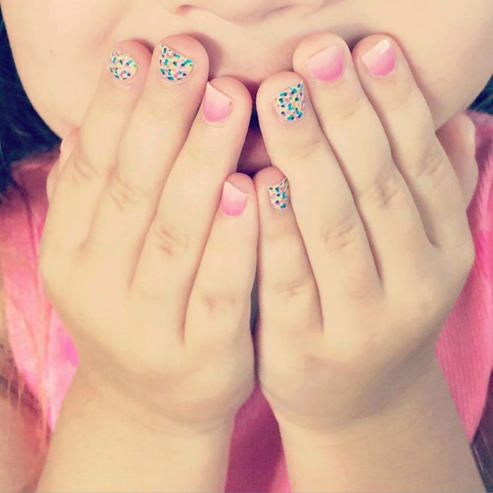
6. Pink and White Polka Dot Nail Art
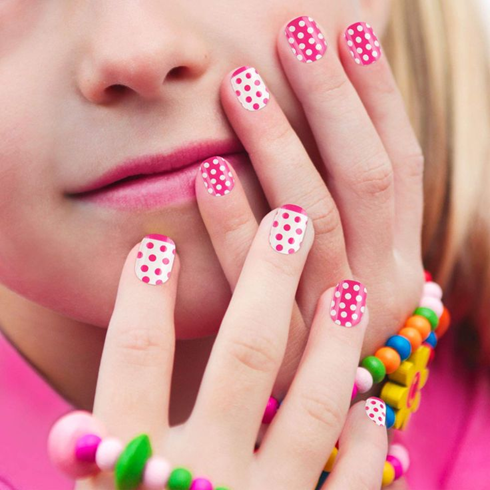
White nails with evenly spaced pink dots. Achieved via wraps or hand-painting; common in kids’ press-on designs.
Apply: Paint white base. Use a dotting tool/nail wrap for evenly spaced pink dots.
Shared with: Similar to Style 4 (Sprinkles) but with precise placement.
7.Wildflower Meadow Press-On Nails
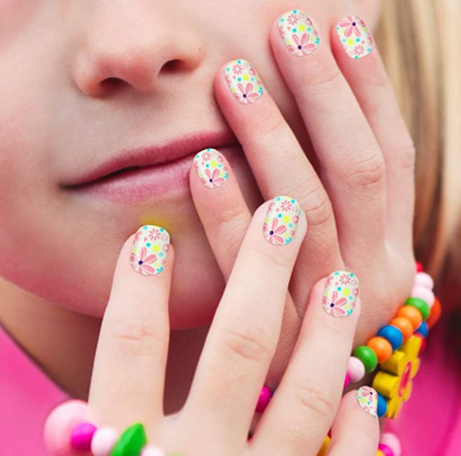
Artificial nails with scattered colorful wildflowers on a light background. Easy-to-apply press-ons for children.
Apply: Press pre-glued artificial nails onto natural nails. Trim/fit as needed.
Shared with: Style 8 (Easter Press-Ons) uses identical press-on methods.
8. Jamberry Floral/Paisley Nail Wraps
DIY blue and pink polka-dot or floral/paisley stickers. Trimmed and filed after application for salon-like results.
Apply: Same as Style 3 (Made in Milan), but with floral/paisley designs. File edges post-application.
Shared with: Style 3 (nail strip/wrap technique).
9. Easter-Themed Press-On Nails
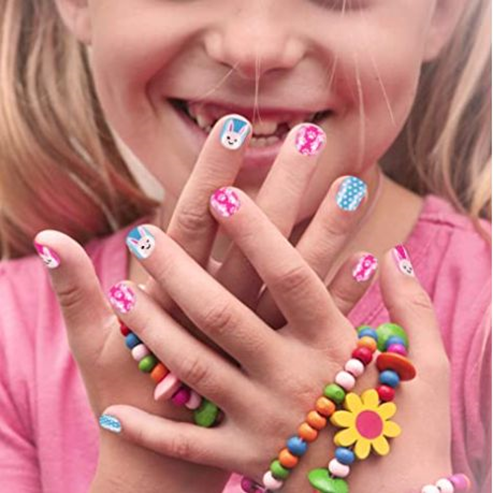
Pre-glued artificial nails with bunny motifs and colorful Easter patterns. Designed for easy, kid-friendly use.
Apply: Same as Style 6 (alt) (Wildflower Press-Ons). Pre-glued and ready to apply.
Shared with: Style 6 (alt) (press-on method).
10. Amanda & Tiff Flower Nail Art
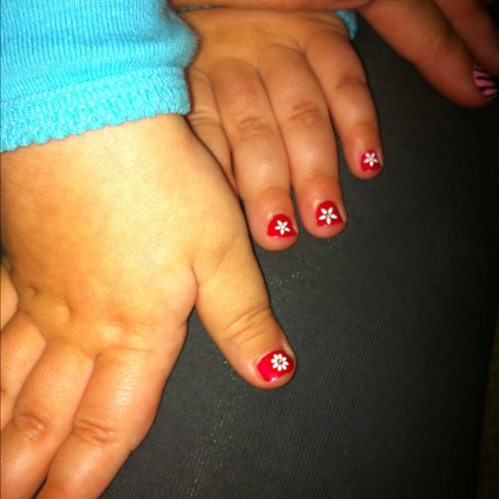
Red nails with white flower stickers. Simple, cute, and age-appropriate for young children.
And if your little one loves florals, these pink flower nail styles are perfect inspiration for when they’re ready to match with mom or older siblings!
Apply: Paint red base. Press white flower stickers onto nails while polish is tacky. Seal with top coat.
11. Jimé Benitez Watermelon Slice Nail Art

Summer-themed design with green “rind,” red/pink centers, and black seed dots. Playful and seasonal for kids.
Apply: Layer green (rind), red/pink (flesh), and black seed dots. Use thin brushes for details.
Tween nail art is all about having fun, experimenting safely, and celebrating creativity. With simple designs, kid-friendly products, and a little guidance, even beginners can create nails that sparkle and delight. Encourage your tween to choose their favorite colors, mix and match patterns, and add tiny touches that show off their personality.
Remember, it’s not just about the look—it’s about spending time together, enjoying the process, and building confidence in their creativity. So grab those polishes, get playful with the designs, and watch as tiny nails turn into proud little masterpieces your tween will love to show off!
Still not sure where to start? Watch the video below to see these fun designs come to life—it’s easier than you think!
FAQS FOR KIDS SAFETY
1. “Are these designs actually safe for kids?”
Totally! Safety is my top priority as a parent and nail artist. Every idea here uses non-toxic, kid-friendly polishes (think brands like Piggy Paint). No harsh gels, acrylics, or scary chemicals. I also keep nails short (less breakage!) and use gentle options like press-ons or water-based polish. Your kiddo’s health comes first—pinky promise!
2. “How long will these last on active kids?”
Honestly? It depends!
- Simple hand-painted designs (like polka dots or sprinkles): 3–5 days (seal with top coat!).
- Nail strips/wraps (like Color Street): Up to 10 days (they’re surprisingly tough!).
- Press-ons: 5–7 days if applied right (great for vacations or parties!).
3. “Do I need fancy tools?”
Nope! Most designs need just 3 basics:
- A dotting tool (or toothpick!) for sprinkles/polka dots.
- A thin brush for tiny details (like watermelon seeds).
- Quick-dry top coat (non-negotiable for shine + staying power!).
Skip the stress with press-ons or stickers—zero tools needed!
4. “Which designs are EASIEST for busy moms?”
Start with these super-simple winners:
- Solid colors (light blue or mint green—just paint + go!).
- Press-on nails (Wildflower or Easter themes—stick on in 5 mins!).
- Nail wraps (peel, press, file… done!).
5. “My daughter has tiny nails. Will these still look cute?”
YES! Short nails are perfect for:
- Miniature art (tiny flowers! abstract shapes!).
- Sprinkles or polka dots (less space = quicker to paint!).
- Color-blocking (pink + white alternated—so chic!).
6. “How do I remove press-ons/wraps safely?”
Gently is key!
- Press-ons: Soak in warm, soapy water → gently twist off.
- Wraps/stickers: Use acetone-free remover (soak a cotton pad, hold for 30 secs).
- Regular polish: Non-acetone remover (less drying for little nails!).
7. “My child has sensitive skin. Any hypoallergenic options?”
Absolutely!
- Water-based polishes (free of toluene/formaldehyde).
- Press-ons or wraps (less chemical contact!).
Patch-test adhesives first if she’s extra-sensitive.
8. “What do tweens actually beg for?”
From my experience? These HIT every time:
- Sprinkle nails (“Frosting” base + rainbow dots—it’s like a donut party!).
- Watermelon slices (perfect for summer!).
- Floral press-ons (zero effort, max cuteness!).
9. “Can we mix designs? (Ex: accent nails?)”
Please do! Kids love personalizing:
- Paint most nails solid mint (Style 2) → add mini flowers (Style 1) on ring fingers!
- Combine polka dots + sprinkles for a “confetti” vibe!
10. “Help! Polish chips so fast. Tips?”
I feel you! Try this:
- Prep nails: Wipe with rubbing alcohol first (removes oils!).
- Thin coats: Better than one gloppy layer!
- Top coat: Reapply every 2 days (game-changer!).
11. “Can press-ons be reused?”
Most are single-use (the adhesive weakens after removal). But some higher-quality sets can be reused with nail glue!
12. “Where do I buy this stuff?”
- Drugstores/Target: Non-toxic polish (Piggy Paint, Suncoat).
- Amazon: Press-ons, dotting tools, stickers (search “kids nail art”).
- Brand sites: Color Street (strips), Jamberry (wraps).
13. “What about boys who want fun nails?”
Love this! Try:
- Solid colors (mint, blue, soft black).
- Watermelon slices (everyone loves fruit!).
- Geometric dots/stripes (no glitter needed!).
14. “How much TIME will this take?”
- Quick wins (solids, press-ons): Under 10 mins.
- Detailed art (watermelon, florals): 20–30 mins (make it a mommy-and-me activity!).
💖 Pro Mom Tip: Let your kiddo CHOOSE the design—it’s their tiny canvas! Grab some glitter (non-toxic, of course!), press on some flowers, and celebrate their confidence. You’ve got this!