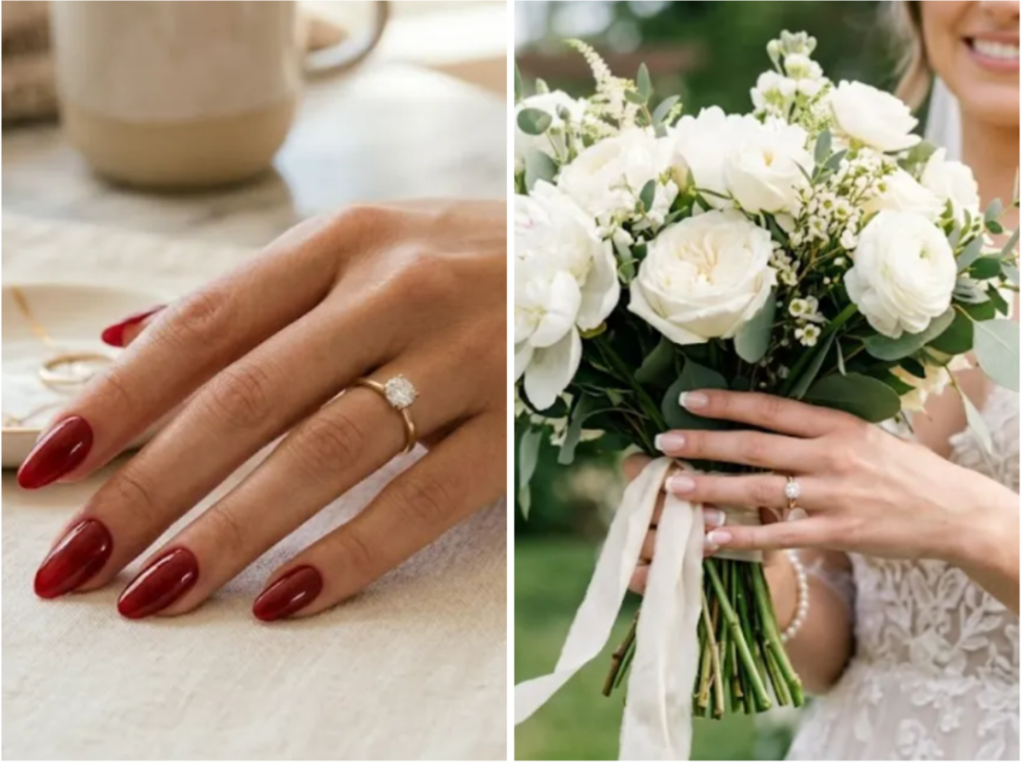
One of the most beautiful and happiest moments of your life is your wedding. Every bride wants everything to be perfect — from the outfit to the makeup, and especially the nails, because they are often visible in close-up photos.
Nowadays, everyone only talks about nail trends and colors, but a bride doesn’t just need designs — she needs proper guidance on what to choose for her wedding that completes her overall look.
If you are also one of those brides who is thinking:
“My wedding is very close and I don’t understand what to do about my nails. Is a simple manicure enough? Will the nail polish chip quickly? I want something simple and natural, but I also don’t want to damage my nails…”
Then this guide is specially for you.

In this article, we will provide you with a proper timeline guide and also show you how to manage everything in a short time, so you can prepare your nails perfectly without last-minute stress. Along with that, you will also understand:
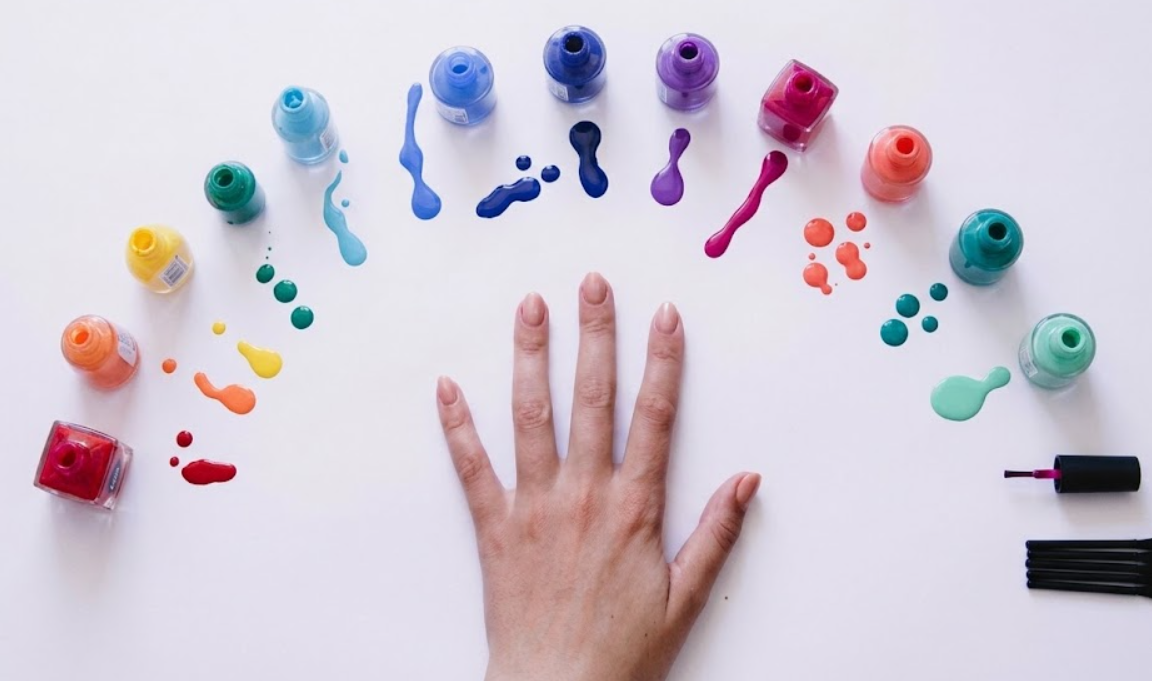
Which right products you should use
And most importantly — first choose your wedding outfit, then select your nail design according to it
Because when your nails and outfit perfectly match, only then does your bridal look truly feel complete.
A. When Brides Are Short on Time:
If you have limited time and you want your nails to look simple while also staying chip-free and damage-free throughout all wedding events, then these 3 practical and real-life tested solutions are best for you:
If you are worried about damage and want a natural look, then these 3 are the best and most practical options for you:
1. BIAB (Builder in a Bottle)
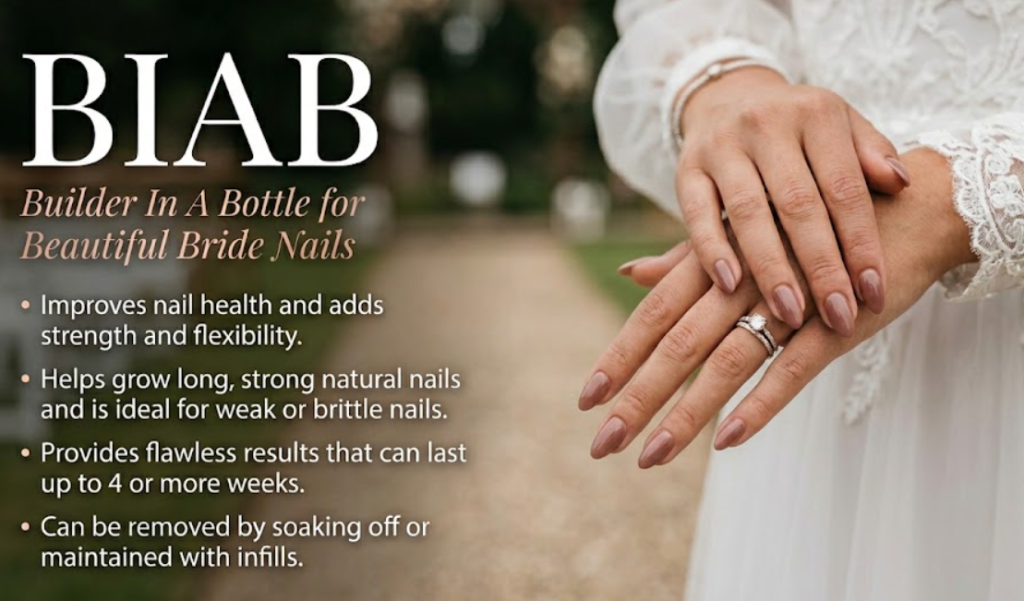
This has become one of the most popular and reliable options among brides, especially for those who want to keep their natural nails healthy and maintained.
Why it is better:
BIAB creates a protective layer over your natural nails that helps strengthen them and reduces the chances of breakage. A gel polish is then applied on top, which makes it long-lasting and durable throughout all wedding events.
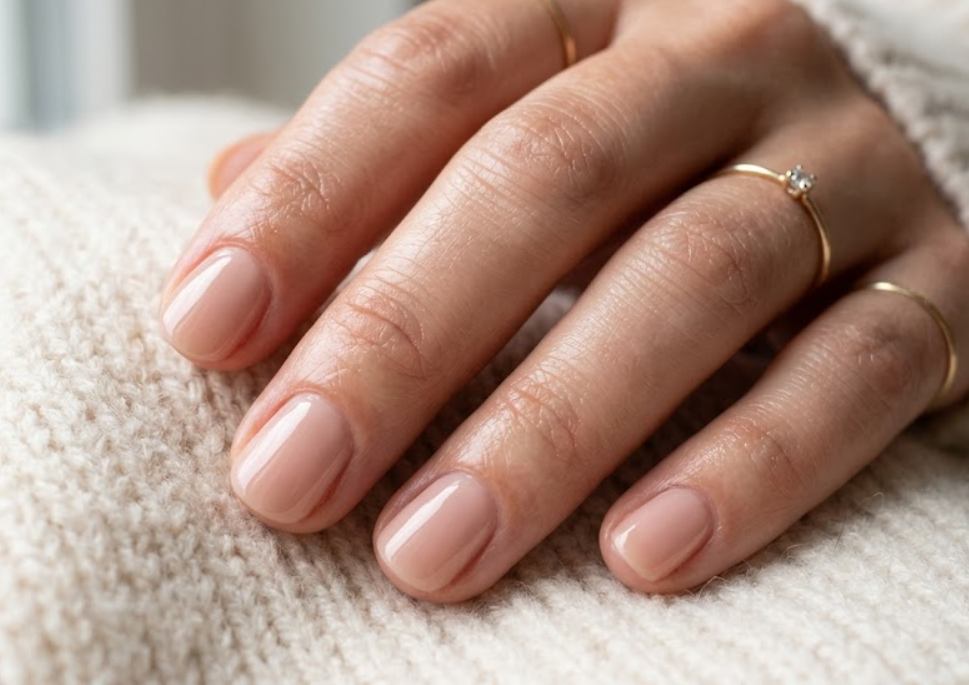
Look:
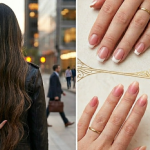
Shades like milky pink, soft nude, and sheer white give a clean, elegant bridal finish that looks very natural and timeless. Strong and Natural Bridal Choice
Damage factor:
If it is removed properly by a professional salon, it does not cause any significant damage to the nails and keeps them healthy.
2. Gel Manicure
If your nails are already healthy and well-shaped, a gel manicure alone is a very solid choice.
Why it is practical:
Gel polish sets instantly under a UV lamp, which means there is very little chance of smudging or chipping. This makes it especially reliable during wedding events.
Reality check:
Regular nail polish usually fades or chips after mehndi or frequent washing, while gel polish maintains its shine and smooth finish for around 10–14 days.
If you’re into deep, eye-catching hues, these 14 ruby-inspired cat-eye nail designs are just one side of it—there are plenty of other red-themed styles worth checking out too.
3. High-Quality Press-On Nails:
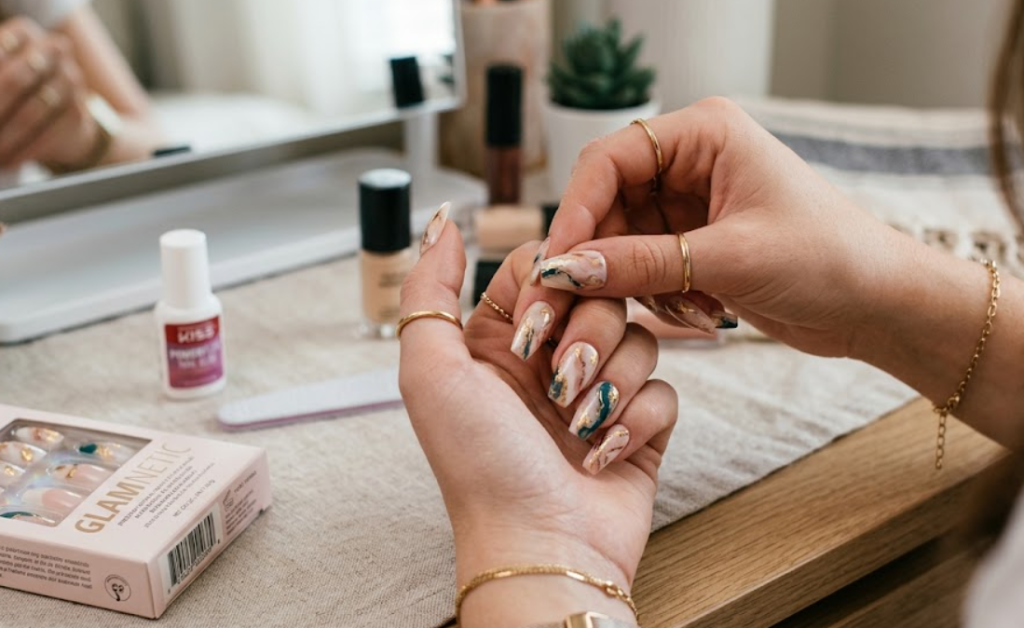
If you do not want to go to a salon or you need a very last-minute solution, press-on nails are also a very practical choice (just make sure you choose good-quality ones).
Benefit:
They are applied with adhesive tabs and can be removed easily without filing or using any harsh chemicals.
Best use case:
They are usually applied one day before the wedding and give a perfect short-term finish, especially for photos and wedding events.
Practical Bridal Care Tips
- Make sure to use cuticle oil daily for soft and healthy nails.
- Try to get your final nail treatment done 1–2 days before the wedding so your nails look fresh and neat during all events.
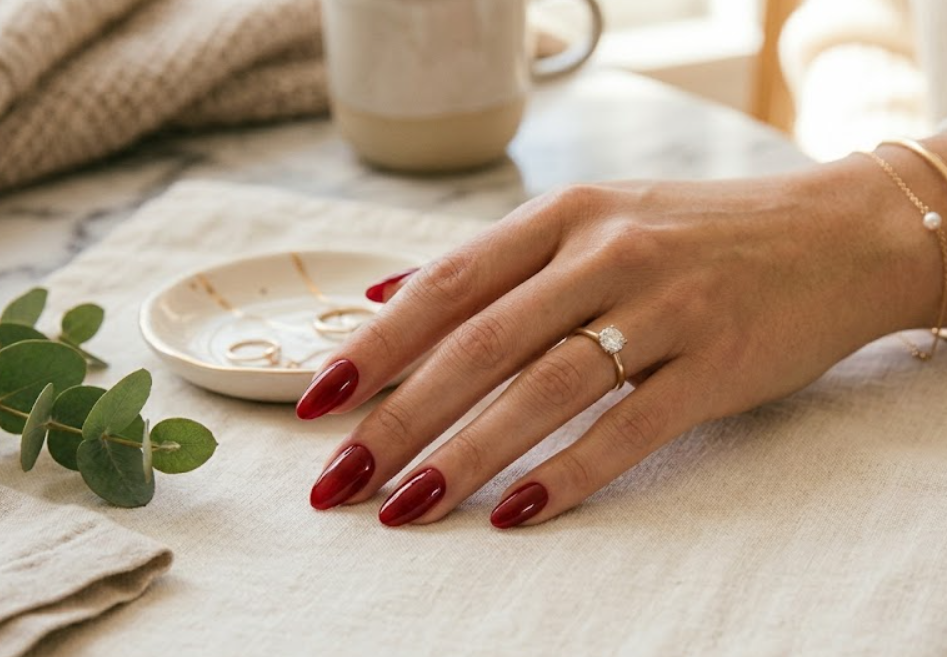
- Natural shapes like oval or soft almond, along with nude tones, are the safest and most elegant choices.
If you have a little extra time, following a complete bridal nail timeline is the best option – it helps your overall look stay more polished, balanced, and long-lasting throughout the wedding events.
B. Complete Wedding Nail Timeline Guide
Your wedding is one of the most special days of your life, and you want your nails to look perfect, clean, and elegant on that day. That is why it is important not to make last-minute decisions, but to follow a proper timeline so the final result looks natural and flawless.
2 Months Before Wedding
Start Building Nail Health Foundation This is where your nail journey begins:
Start growing your nails naturally
Follow a healthy daily diet (biotin, vitamins, protein)
Completely stop the nail-biting habit
Massage your nails and cuticles daily with coconut or almond oil
Protect your nails from harsh chemicals like detergents
Goal of this stage: Build strong and healthy natural nails.
2 Weeks Before Wedding
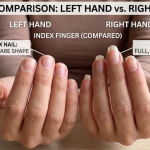
Now start giving your nails proper shape and care:
Start a weekly manicure routine
Finalize your nail shape (oval, almond, or square)
Gently take care of cuticles (do not cut them, only push them back)
Start giving your nails a clean and even appearance
If there is any weakness, use a strengthening treatment
Goal of this stage: Make nails look polished, clean, and well-groomed
Along with your overall bridal prep, giving attention to your feet is just as important, and following a complete at-home pedicure routine for soft, polished feet helps you stay perfectly ready from head to toe.
1 Week Before Wedding
You are now at the final stage of your wedding nail journey. This is the time when you should avoid rushing and instead make calm, well-thought-out decisions so there is no confusion or regret at the last moment.
Choose Your Final Nail Design
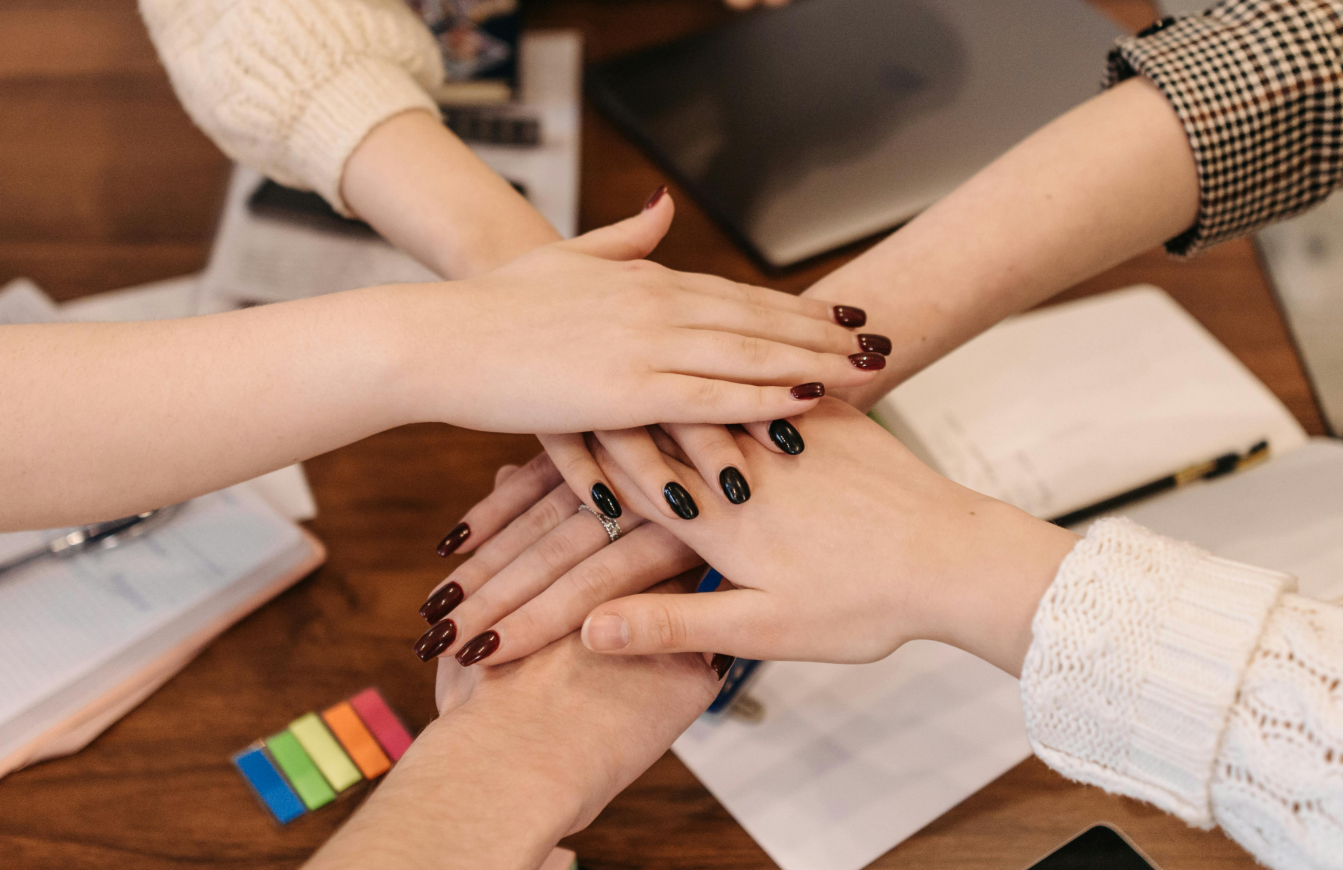
At this stage, do not follow trends or random ideas. Focus on your bridal outfit and choose a nail design that naturally matches it and completes your overall look. Avoid overly heavy or over-designed nails if you want a simple and elegant appearance.
Matching with Your Bridal Outfit is Essential
Always select your nail design according to your outfit.
If your outfit is in light and soft colors, keep your nails simple and in nude tones.
If your outfit has heavy embroidery or rich detailing, your nails can be slightly more defined, but they should still remain balanced.

The basic rule is simple: the outfit is decided first, and the nails are chosen afterwards.
Trial Run
A trial run means testing your final nail design before the wedding so you can get a clear idea of how the end result will actually look.
During this process:
- Visit the salon 5 to 7 days before the wedding
- Get your final selected nail design applied
- Check whether the nails feel comfortable or not
- See if the color and shape suit your hands and match your outfit
- If something does not feel right, make changes at this stage
The purpose of a trial run is simple: to help you avoid any confusion or mistakes on your final wedding day.
Avoid Heavy Designs
At this stage, it is better to avoid very heavy stones, bulky designs, or excessive glitter on the nails. Wedding events are long, so comfort and practicality matter a lot. Simple and clean nails always look more classy and timeless.
Choosing the Right Nail Style for Wedding
Here are some common and safe nail styles that most brides choose because they suit almost every outfit and always look good:
Nude Gloss Nails
Simple, clean, and natural shine. These match easily with every outfit.
Soft Pink Nails
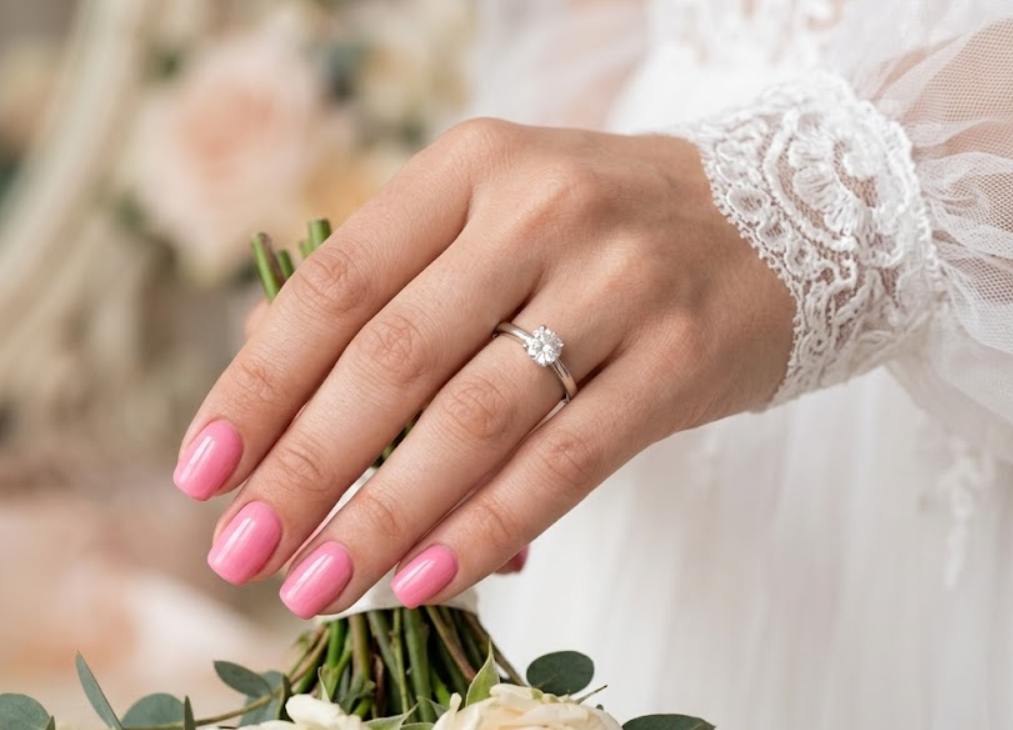
They give a soft and feminine bridal look with an elegant and decent finish.
French Tip Nails

A classic style with white tips and a nude base. It is timeless and never goes out of fashion.
Milky White Nails
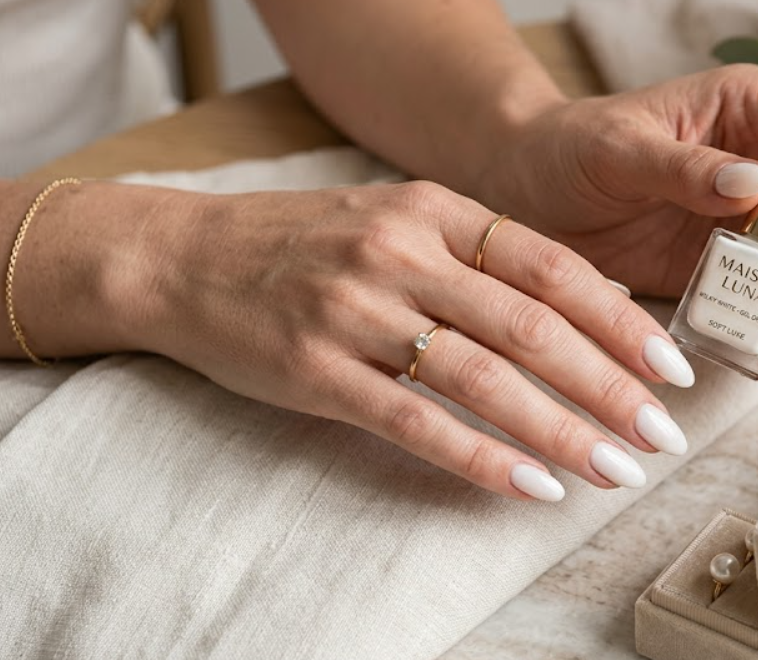
A modern and soft luxury look. Perfect for a clean and fresh bridal appearance.
Light Glitter Accent Nails
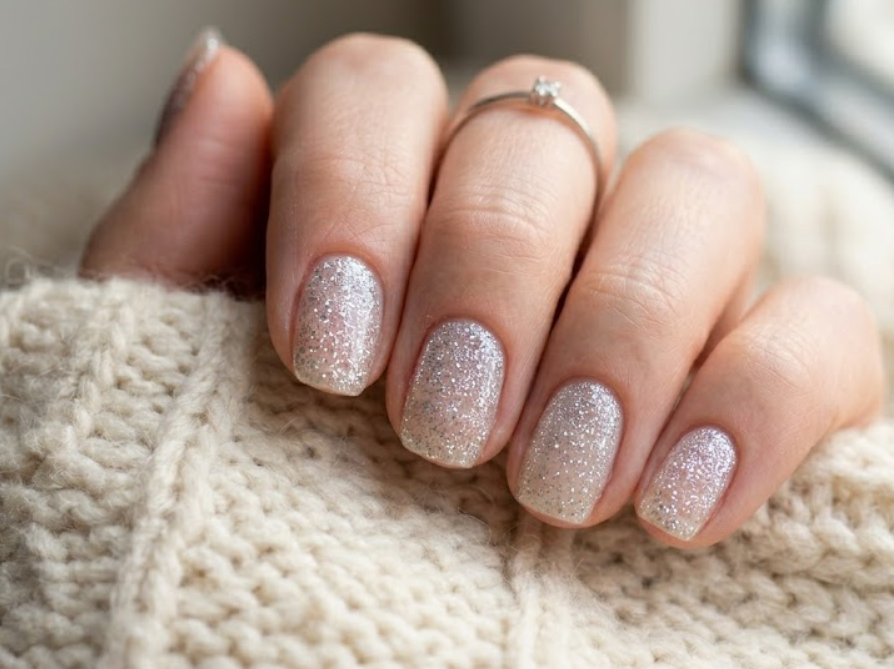
A subtle touch of glitter on nails adds shine without making the look too heavy.
C. After Wedding Nail Care
After marriage, girls often end up damaging their nails due to hurry or tiredness. From real experience, when extensions or gel start to lift, we tend to peel them off ourselves—this is the biggest mistake.
Here is a very practical “After Care” that will help protect your nails:
1. Immediately After the Wedding
Do Not Pull: If the extension starts to become a little loose or the gel begins to lift, do not pull it off. This removes the top layer of your natural nail, making it very thin and paper-like.(1–3 Days)
Moisturize: Due to heavy jewelry and work during the wedding, fingers become tired. Apply any lotion or oil on your nails every night so they don’t become dry and break.
2. After Removing the Product
Professional Removal: Always get gel or extensions removed at a salon. They usually soak them in acetone and gently remove them without damaging the nail.
Let Your Nails “Breathe”: After removing the product, avoid applying any polish for at least 1–2 weeks.
Strengthener: Buy a good nail hardener or strengthener from the market and apply it. It will act as a protective shield.
3. Common Mistakes to Avoid
Damage from Cheap Products: Cheap gel or glue can turn nails yellow and increase the risk of fungal infections. Always choose a good, reputable salon.
Cuticle Damage: Never cut your cuticles at home. Only gently push them back. Cutting them can cause infections that may even show up in wedding pictures.
Last-Minute Panic: Nail work done on the wedding day often gets rushed and turns out messy. Always finish it at least 2 days before the event.
Bottom Line: If you get gel applied professionally and also remove it professionally, your nails will have almost 0% damage.
D. Conclusion
Your wedding is a once-in-a-lifetime special day, so leaving everything to the last minute is not the right approach. If you follow this timeline in advance, you can prepare your nails step by step, and the final look will be naturally elegant, balanced, and photo-perfect.
The most important thing is consistency. When you take regular care, your nails naturally stay healthy and strong. Prioritizing natural nails is always the best choice because it is both safe and classy.
With proper care and a little planning, you can make your nails beautiful and wedding-ready without any damage, and your overall bridal look will appear more complete and confident.