We’re not just throwing around hype here. This stuff genuinely transformed our at-home nail routine from “meh, it’ll chip tomorrow” to something way more long-lasting and impressive. It’s become our absolute go-to, especially juggling life – the endless typing, the dishes, the general chaos where nails usually suffer.

Forget the flimsy polish that gives up after two days; builder gel is a different beast entirely. Let us break down exactly why we’re obsessed and how you can nail it (pun intended) at home.
1.1 Why Builder Gel Is a Game-Changer:
- It’s Shockingly Forgiving to Apply: Seriously, even for relative novices when starting, or when just wanting a subtle extension on stubby pinkies, it’s manageable. That thicker consistency? It doesn’t run everywhere like thinner polishes. There’s a bit more control.
- The Chip-Proof Armor: This is the big one. Life happens. Washing dishes without gloves (yes, really!), bashing hands on drawers, typing like a maniac—regular polish? Destroyed. Builder gel? It laughs in the face of clumsiness. That durable overlay is a revelation.

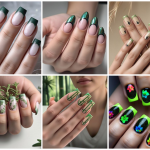
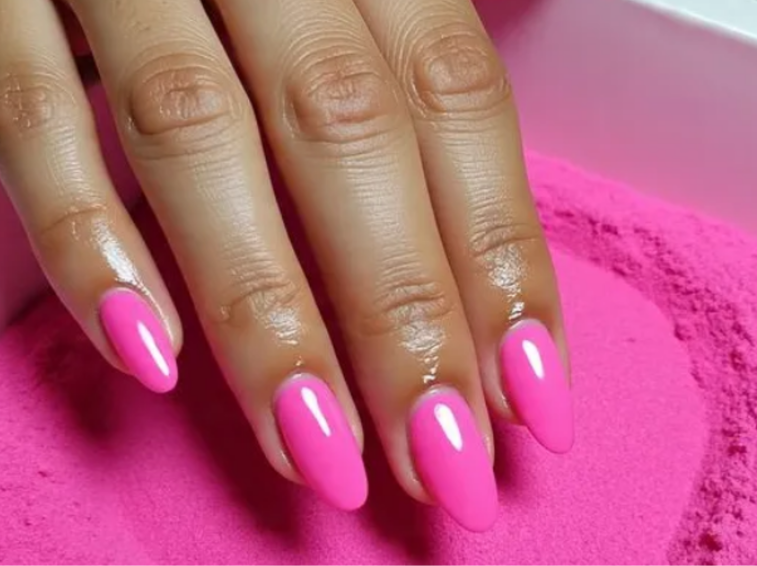
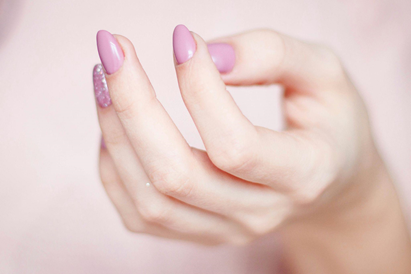
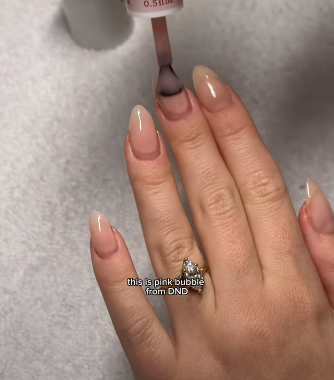
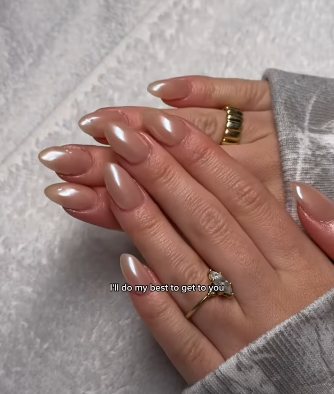
- Versatility in Looks: Clear for that super natural, “our nails but better” vibe? Check. Nude or soft pink for effortless class? Check. Want a bold color or intricate nail art? Absolutely! The builder gel creates a strong, smooth base that any gel polish adheres to beautifully. The top coat just seals the deal.
- The (Relative) Ease of Removal: Unlike acrylics or some hard gels, most builder gels soak off with acetone. Yes, it takes time and some foil wraps, but it means not grinding away at poor natural nails with a file for ages. Huge win for nail health long-term.
1.2 So, What Exactly Is This Magic Potion?
Think of builder gel as the superhero foundation of the nail world. It’s a special type of gel polish, but way thicker (“high viscosity” is the fancy term). Its core job? To build strength and structure right onto your natural nail or onto nail tips.
- It’s an All-in-One Powerhouse: Often, it combines the roles of a primer, a base coat, and the builder itself. Streamlined application? Yes, please.
- Strengthens & Repairs: Got weak, bendy, peeling nails? Builder gel is like hitting the gym for them. It creates a protective shield that lets natural nails grow stronger and longer underneath without snapping. Over time, natural nails become noticeably tougher.
- Lightweight Yet Tough: Don’t let the strength fool you. Unlike old-school, rock-hard gels or acrylics, good builder gel has some flexibility. This “give” is crucial – it means the overlay moves with your nail, reducing the chances of painful cracks or lifting. Rigid = prone to breakage; flexible = durable.
- Builds Length & Shape: Whether you just want a bit more apex (more on that soon!) on your natural nail, a subtle extension, or even bonding a pre-made gel tip, builder gel is the sculpting clay that makes it happen.
1.3 Builder Gel vs. The Nail World: Cutting Through the Confusion
The nail product aisle is overwhelming. Let’s get real about how builder gel stacks up:
Click to see builder gel vs others!
1.3.1 Builder Gel vs. Regular Gel Polish:
- Builder Gel: Thicker, stronger, designed for structure and extension. Think foundation walls. Provides significant strength and can add length. Less glossy naturally (needs a top coat). Lasts longer (3-5 weeks easily for me).
- Gel Polish: Thinner, designed for color and a high-gloss finish. Think paint. Offers some strength but nowhere near builder gel. Primarily aesthetic. Lasts 2-3 weeks typically. You often apply gel polish over builder gel for the best of both worlds.
1.3.2 Builder Gel vs. Hard Gel:
- Builder Gel: Soak-off removal with acetone. More flexible, less prone to cracking. Great for natural nails, short-medium extensions, and repairs. OUR preferred choice for flexibility and easier removal.
- Hard Gel: Cannot be soaked off; must be filed off. Harder and more rigid. Excellent for very long, dramatic extensions where maximum rigidity is needed. Less forgiving on natural nail movement. Requires salon removal (or serious e-file skills).
1.3.3 Builder Gel vs. Soft Gel:
Often used interchangeably with “soak-off builder gel.” Generally implies the soak-off capability and flexibility. Soft Gel might sometimes refer to thinner gel polishes, causing confusion. Focus on the function: if it builds structure and soaks off, it’s builder/soft gel.
1.3.4 Builder Gel vs. Acrylic:
- Builder Gel: Soak-off removal. More flexible, feels lighter and more natural on the nail. Less damaging during application/removal (minimal filing needed). Promotes better nail health if applied and removed correctly. Smell-free application.
- Acrylic: Requires filing for both application and removal (can thin the natural nail significantly). Very hard and rigid. Stronger for extreme length, but more brittle and prone to cracking/breaking with your natural nail underneath. Involves liquid monomer (that strong smell) and polymer powder.
1.3.5 Builder Gel vs. Dip Powder:
- Builder Gel: Requires UV/LED lamp to cure. Creates a smoother, thinner, more natural-looking finish. Soak-off removal. Builds structure layer by layer.
- Dip Powder: No lamp needed (activator sets it). Can feel thicker and bulkier on the nail. Removal requires soaking and significant filing, which can weaken nails over time. More opaque finish.
1.3.6 Builder Gel vs. Gel Extensions (Pre-Made Tips):
- Builder Gel: Can be used to attach and blend pre-made gel tips, or used alone to sculpt extensions from scratch using forms. Sculpting offers ultimate customization for shape and length. Feels more like “your” nail.
- Gel Extensions (Tips): Quicker application if just gluing on a tip. Limited to the shapes/lengths available. The seam where the tip meets your natural nail needs careful blending (often with builder gel!) to avoid weakness and lifting.
1.4 The Secret Sauce: Understanding the Apex
This is non-negotiable for strong, natural-looking nails, especially with any length. The apex is that subtle high point, the arch, usually around the stress area (where your nail meets the free edge, or a bit further out on extensions). It’s not just for looks!
Finding & Building It: When applying builder gel (especially for extensions), you deliberately place a slightly thicker bead of gel in this stress zone before curing. It takes practice to get the placement and shape right – not too far back, not too far forward, smoothly blended. But mastering this? Total game-changer for durability.
Why It Matters: Think of a bridge. The arch distributes weight and pressure. On a nail, the apex does the same. It prevents that awful “hinge” effect where long nails snap right across the middle. A well-placed apex makes your enhancements incredibly strong.
The Look: A proper apex gives nails that beautiful, plump, healthy look – not flat like a painted stick. It mimics the natural curve of a strong, healthy natural nail.
1.5 The “1 Secret” Revealed: It’s All in the Builder Gel Foundation
Forget gimmicks. The absolute core secret to achieving nails at home that look and feel like you just left the salon is building a strong, well-structured foundation using builder gel. It’s the bedrock everything else sits on. Color polish is just the decoration; the builder gel is the architecture. Get that right, and everything else follows.
1.6 Step-by-Step Guide to Applying Builder Gel:
If you’re a beginner, you can absolutely try it yourself — but honest advice is to get it done by a professional once or twice first, or at least learn from them. Because if the gel accidentally touches your skin and gets cured, it can cause an allergic reaction. With a little guidance in the beginning, you’ll be able to apply it easily and safely on your own later.
- Gather your tools: Nail file, buffer, cuticle pusher, lint-free wipes, alcohol (or nail cleanser), base coat (if separate), builder gel, gel color (optional), top coat, good quality UV/LED lamp, nail forms (if extending), maybe an e-file for refining.
1.6.1 Prep is EVERYTHING (Seriously, Don’t Skip This):
- Clean & Shape:
Wash hands, remove old polish. File your nails to your desired shape gently. A fine-grit file (180/240) helps avoid shredding.
- Buff the Shine Away:

Lightly buff the surface of your natural nail. Not to sand it down, just to remove the natural shine. This creates microscopic grooves for the gel to grip onto. Wipe off the dust. Crucial step!
- Tame the Cuticles:
Gently push back your cuticles. Don’t cut unless you’re skilled (bleeding = bad for adhesion!). Remove any little bits of loose skin or cuticle (eponychium) stuck to the nail plate. A clean nail bed is key. Wipe again.
- Deep Cleanse:
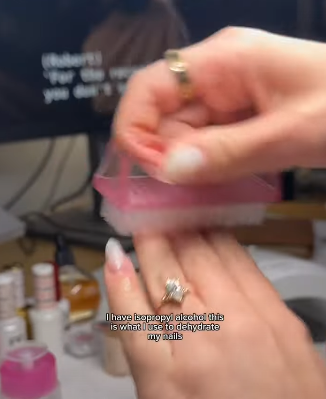
Grab a lint-free wipe soaked in high-percentage isopropyl alcohol (90%+ is best) or a dedicated nail cleanser. Thoroughly scrub each nail plate. This removes all traces of dust, oil, and moisture – the enemies of adhesion. Let it air dry completely. Don’t touch the nails now!
- Base Coat (If Needed):
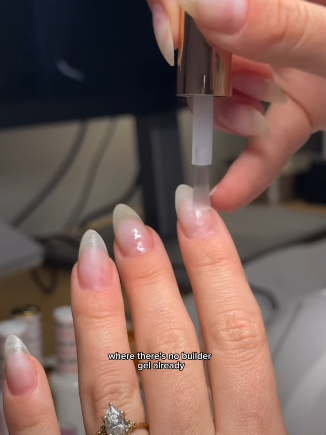
Some builder gels are true “all-in-ones.” Others need a separate base coat. Check your product! Apply the thinnest possible layer of base coat to the entire nail plate, avoiding skin. Cap the free edge if you can. Cure fully under your lamp (check lamp instructions for time!).
1.6.2 Form Up (For Extensions):
If you’re adding length, carefully apply a nail form under the free edge of each nail. Get it snug and secure. This is your scaffold.
1.6.3 Building Time! (The Fun Part):
Click to see the Builder Gel Types
| Type | Removal Method | Best For |
|---|---|---|
| Hard Builder Gel | File-off only | Long extensions & salon durability |
| Soft Builder Gel | Soak-off (with acetone) | Natural overlays & nail health |
| Builder in a Bottle (BIAB) | Soak-off (with acetone) | Beginners & strengthening natural nails |
| Self-Leveling Builder Gel | Soak-off (with acetone) | Smooth finishes & easy application |
| Non-Self-Leveling Builder Gel | Soak-off (with acetone) | Sculpting, apex building & control |
| Polygel (Hybrid) | File-off only | Strong sculpting, acrylic-gel combo |
Search these terms on Amazon to find budget-friendly options.
- Load Your Brush:
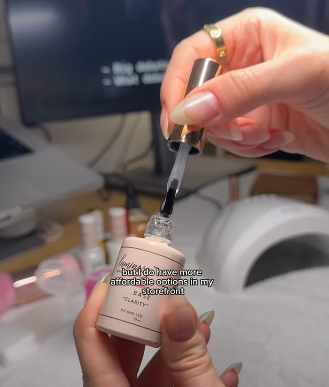
Dip the brush into your builder gel pot, wiping one side clean on the neck. You want a small bead of gel – enough to work with, not a gloopy mess.
- Placement is Key:
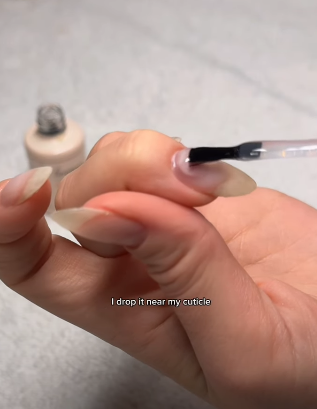
Start near the cuticle area. Gently place the bead and float the brush, letting the gel flow where you guide it. Don’t press hard! Cover the entire nail surface thinly and evenly. For extensions, smoothly flow the gel over the form.
- The Apex Moment: Before curing, look at the side profile. See that stress point? Add a tiny bit more gel right there and gently shape it into a smooth curve – that’s your apex! It should look like a subtle hill, not a mountain peak. Smooth the gel from the apex towards the tip and cuticle.
- Avoid Skin Contact: This is vital. If gel floods your cuticles or sidewalls, immediately clean it off with a tiny brush dipped in alcohol before curing. Gel on skin = guaranteed lifting and potential allergies.
- Cure It Solid:
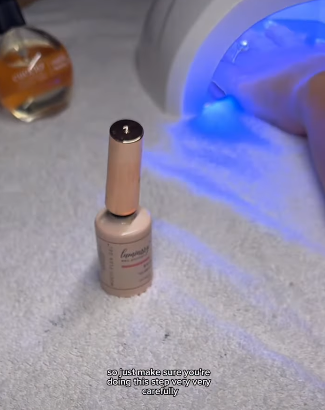
Pop your hand under the UV/LED lamp for the full recommended time. Undercuring is a major cause of lifting and weak nails. Know your lamp’s power and your gel’s requirements!
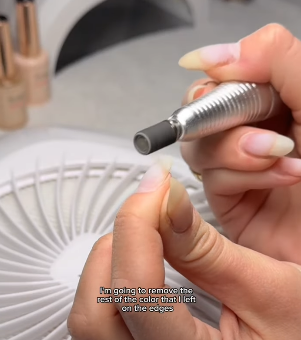
1.6.4 Shape & Refine:
- Once cured, the builder gel is hard but might look a bit lumpy or have flash (excess gel on skin you missed).
- Remove Flash: Gently file away any gel that touched your skin or cuticles using a fine-grit buffer or e-file (carefully!).
- Refine the Shape: Use your file or e-file to perfect the shape, smooth any bumps, and refine the apex curve if needed. Aim for smooth transitions. Go slowly.
- Buff Smooth: Lightly buff the entire surface to a smooth, even finish. Wipe off all the dust thoroughly with alcohol.
- Cure Again (Optional but Recommended): Some pros recommend a quick final cure after filing to ensure any disturbed gel is fully set. It doesn’t hurt!
1.6.5 Color & Top Coat (The Icing):
Now safely apply your gel color polish in thin layers, curing between each. Finish with a high-quality no-wipe top coat, cap the free edge, and cure fully. Wipe off any sticky residue if your top coat has it.
1.7 Keeping Those Beauties Beautiful: Aftercare Ritual
Builder gel is tough, but your nails underneath still need love:
- Hydrate, Hydrate, Hydrate: Multiple times a day, rub cuticle oil (jojoba is fantastic) into your cuticles and around the nail. This keeps everything flexible and prevents dryness.
- Gloves are Your Friends: Seriously, wear gloves for washing dishes, cleaning with chemicals, or any wet work. Prolonged water exposure is the enemy.
- Mind Your Hands: Try not to use your nails as tools (opening cans, prying things). That builder gel overlay is strong, but why tempt fate?
- File Gently, Only When Needed: Don’t file the surface of your builder gel unless you absolutely have to fix a small chip or rough spot. Buffing lightly is usually enough for shine. Aggressive filing thins the protective layer.
- Listen to Your Nails: If you feel lifting or see significant outgrowth (usually after 3-4 weeks), it’s time for a fill or soak-off. Don’t pick or peel it! That will damage your natural nail.
1.8 FAQS
CLICK TO READ FAQS:
How long will this actually LAST?
Honestly? With good prep and application, builder gel can easily last 3–5 weeks before attention is needed, usually just because of noticeable growth at the base (that dreaded “outgrowth”). The gel itself rarely chips or lifts before then. And if a fill is done (filling in the regrowth area with fresh builder gel), that look can be stretched for a few more weeks. So yeah, it’s pretty durable!
Will it wreck natural nails?
Used correctly? Nope, it actually helps. Builder gel protects nails and lets them grow stronger underneath. The real damage usually happens during removal — peeling it off is a big no-no. Over-filing during prep or removal is also harmful. Soaking in acetone can temporarily dry out nails, which is why aftercare with cuticle oil and giving nails a break between sets is important.
How do you get this stuff OFF without destroying everything?
For soak-off builder gel, here’s the chill way: first, lightly file the shiny top layer off so the acetone can work better. Then soak small cotton pieces in pure acetone, place them on the nails, and wrap each finger tightly in foil. Wait about 15–20 minutes, then gently push off the softened gel with a cuticle pusher — don’t scrape aggressively. If it’s still stubborn, rewrap and wait another 5–10 minutes. After that, moisturize thoroughly. Hard gels need professional filing removal, so better leave that to the pros.
Why does it sometimes LIFT?
Lifting can be frustrating. Here’s what usually causes it:
- Bad Prep: Oily nails, not buffing enough, leftover cuticle bits — if your prep isn’t on point, the gel won’t stick. Prep is sacred!
- Skin Contact: Gel on your cuticles or skin? Immediate lift city. Be super careful.
- Undercuring: Weak lamps, old bulbs, or not curing long enough will mess up the gel hardening. Invest in a good lamp!
- Pooling Gel: Too much gel near cuticles creates thick blobs that don’t cure properly and lift. Keep it thin and neat.
- Water Exposure Too Soon: Don’t wash dishes or get nails wet right after curing. Let it fully set!
- Using Incompatible Products: Mixing random gels and polishes from different brands can cause issues. Stick to one system or ensure compatibility.
Is builder gel safer than regular gel nails?
Generally, yes. Builder gel is better for nail health compared to acrylics and offers more protection than just regular gel polish. The main safety concerns are allergic reactions from skin contact (so prep carefully!) and the drying effect from acetone removal. Using high-quality products and a good lamp really helps minimize any risks.
Builder Gel vs. Normal Gel Base Coat?
Worlds apart! A normal gel base coat is thin and just helps polish stick. Builder gel is thick, structural, and adds serious strength and bulk to your nails. A base coat won’t fix weak nails or help you build that crucial apex.
What’s Gum Gel/Polygel? Is it the same?
Nope! Polygel is a hybrid — like a thick paste (usually in a tube) combining acrylic and builder gel properties. It’s applied with a form, self-levels nicely, and is super strong. Usually, you file it off rather than soak it off (though some soak-off versions exist). It doesn’t have that acrylic monomer smell. Builder gel, on the other hand, is a liquid/pot gel applied with a brush. So, different textures and sometimes different removal methods.
Does it need UV light?
Yes, absolutely. Both builder gel and hard gel require curing under a UV or LED lamp to harden properly. No lamp, no hard nails!