Dip powder nails. Seriously, scroll through Instagram or TikTok for five minutes, and you’ll see them – those impossibly glossy, chip-free manicures that seem to last forever. Everyone from your best friend to that influencer you follow is raving about them. But what’s the big deal? Is it just hype, or is there something genuinely special here? Buckle up, because we’re diving deep into the world of dip powder, stripping away the marketing fluff, and giving you the straight-up human truth.
So, What Exactly Are Dip Powder Nails?
Forget complicated chemical names for a second. Imagine this: instead of painting on layers of wet polish that take forever to dry, or sitting under a weird UV lamp, your nail tech uses a special glue (a “bond” or “base”) and then literally dips your finger into a jar of super-fine, colored powder.
It’s a perfect alternative if you’re exploring fake or artificial nail types and not quite sure if acrylic, press-ons, overlays, or dip is your match. Explore all nail types here →
It’s like dunking a cookie in sprinkles, but way more sophisticated (and less messy… usually). They brush off the extra powder, then repeat the glue-and-dip dance a few times to build up the color and strength. Finally, they lock it all in with a sealant (“activator”) and a glossy top coat. The result? A manicure that feels surprisingly lightweight yet is built like a tank. People often call it SNS (Signature Nail Systems is a big brand name) or just “dip.”
Hold Up, This Sounds New… But Is It?
Here’s a fun fact: dip powder isn’t some new TikTok-era miracle. It’s been around since the 1980s – often seen as a gentler option compared to traditional acrylics. If you’re curious about how dip powder stacks up against acrylic nails, especially in terms of durability and longevity, this deep-dive into acrylic nail wear-time will give you all the answers.
Think big hair, shoulder pads, and the early versions of this durable manicure. Back then, it was a simpler way to get strong nails without the intense liquid monomers and potent smells of traditional acrylics. It combined a gentler adhesive with acrylic powder for strength, minus some of the harshness. It just took social media and some clever branding decades later to blast it into the mainstream spotlight.
Why is Everyone Suddenly Obsessed? Let’s Break Down the Hype (and Reality)
- The Holy Grail: Longevity (Seriously): This is the #1 reason. We’re all tired of that gorgeous gel chipping after a week or regular polish looking sad in three days. A well-done dip powder manicure? It can easily last 3 to 4 weeks looking fresh. No chips, minimal wear at the tips. It just stays put. For busy people, parents, anyone who uses their hands a lot, this is pure magic. It means fewer salon trips, less time spent, and more value for your money.
- Strength Without the Bulk (Usually): Dip powder bonds directly to your natural nail, creating a flexible but incredibly strong shield. It’s fantastic for people with weak, brittle nails who want length without constant breaks. While it can add some thickness (especially with many layers or longer extensions), a skilled tech files and shapes it down to feel surprisingly sleek and natural – not like clunky acrylic bricks.
- No UV Lamp Worries: Gel manicures require curing under UV or LED lamps to harden. While the risk is debated, some people are uncomfortable with the repeated UV exposure on their skin. Dip powder? Zero UV lamps needed. The activator chemical hardens it instantly. Big plus for those concerned about skin health or potential aging.
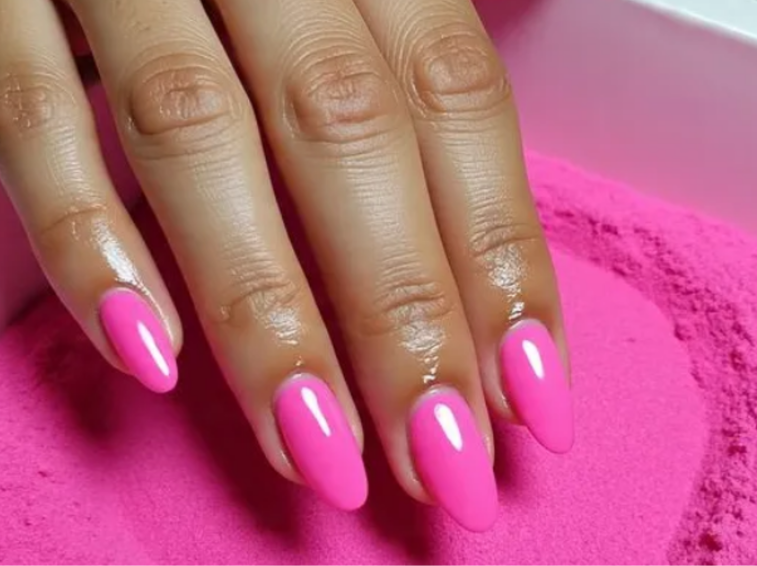
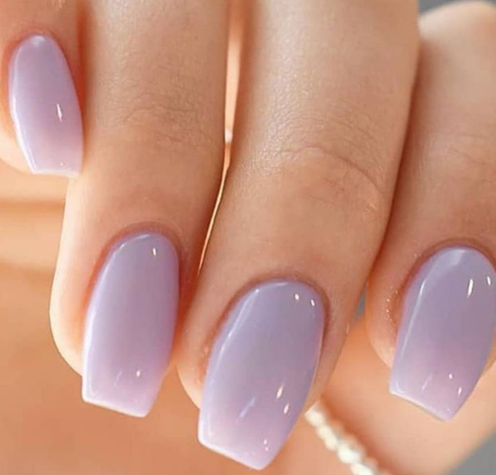
- The Finish: That Glossy Dream: Dip powder delivers an incredibly smooth, high-shine, almost glass-like finish that lasts the entire wear time. It just looks expensive and impeccably done.
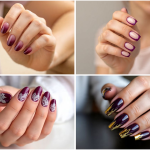
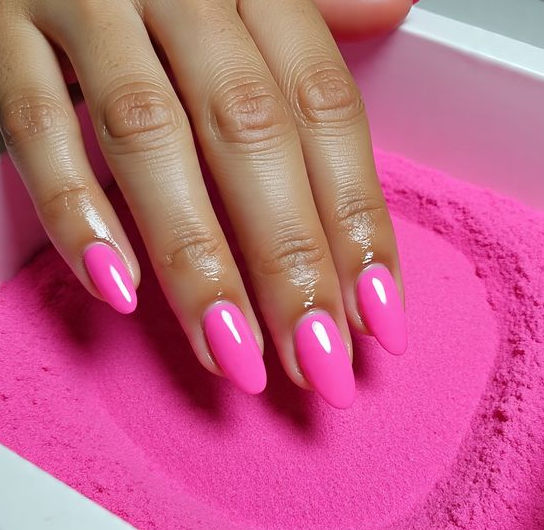
- Color and Design Bonanza: Forget limited options. Dip powder comes in literally every shade imaginable – classic nudes, vibrant neons, moody darks, shimmery metallics, crazy glitters (from fine dust to chunky sparkle), even color-shifting options. And it’s a fantastic base for nail art. Techs can easily add gel designs on top, embed glitter or foil between layers, or create ombre effects. The creative possibilities are vast.
- (Sometimes) Less Harsh Prep? Maybe: Compared to traditional acrylics, which require aggressive filing of the natural nail surface, dip powder application can involve slightly less initial buffing. However – and this is a big however – removal can be just as damaging if done wrong (more on that later). Nail pros often tout it as “healthier,” but dermatologists urge caution.
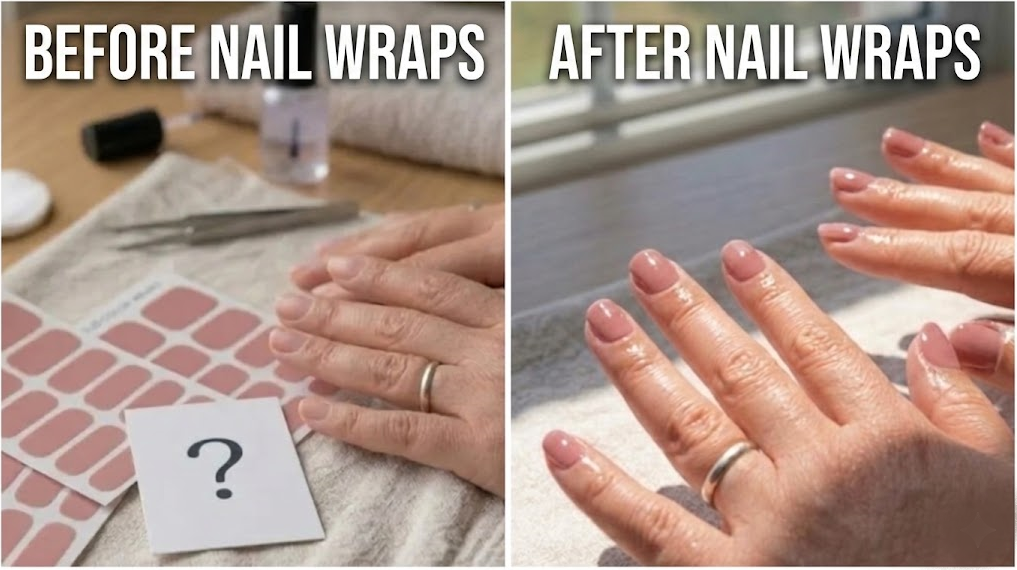
And speaking of overlays – if you prefer a more natural, subtle vibe with some reinforcement (especially for short or bare nails), you might want to consider natural nail overlays. They’re often compared with dip for strength, but differ in thickness and style.
The Dip Powder Process: Step-by-Step (What Actually Happens in That Salon Chair)
The Clean Slate:
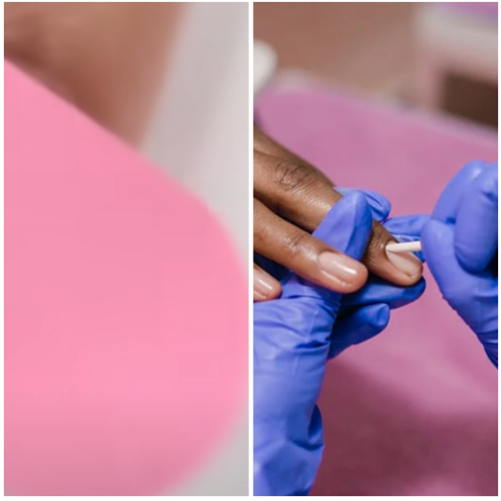
Your tech removes any old polish thoroughly, usually with acetone. Then comes the prep: they gently buff the surface of your natural nail. This isn’t just cleaning; it creates a slightly rough texture so the adhesive has something solid to grip onto. They’ll shape your nails (almond, square, coffin, whatever you fancy) and gently push back your cuticles. This step is crucial for longevity and preventing lifting.
The Glue & Dip Dance:
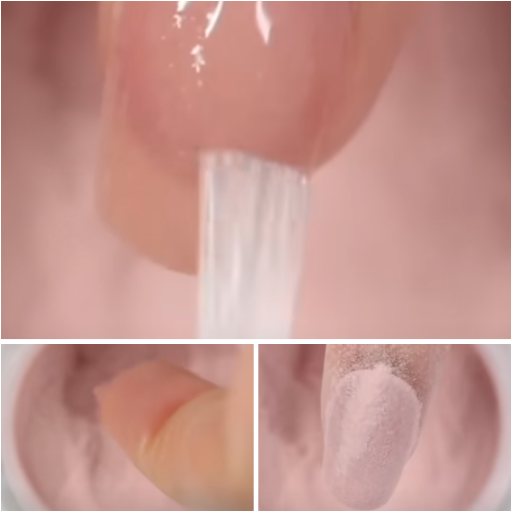
Here’s the signature move. Your tech paints a thin layer of a clear, sticky liquid (the base coat/bond) onto one nail. While it’s still super wet, they quickly dip that finger directly into a jar of your chosen colored powder, coating it completely. They pull it out, tap off the excess powder, and use a small brush to dust away any stray bits. They repeat this glue-and-dip process on the same nail 2-4 times (depending on the desired color opacity and nail length – shorter nails need fewer dips, dramatic extensions need more). They do this one nail at a time.
Locking it Down – The Activator:
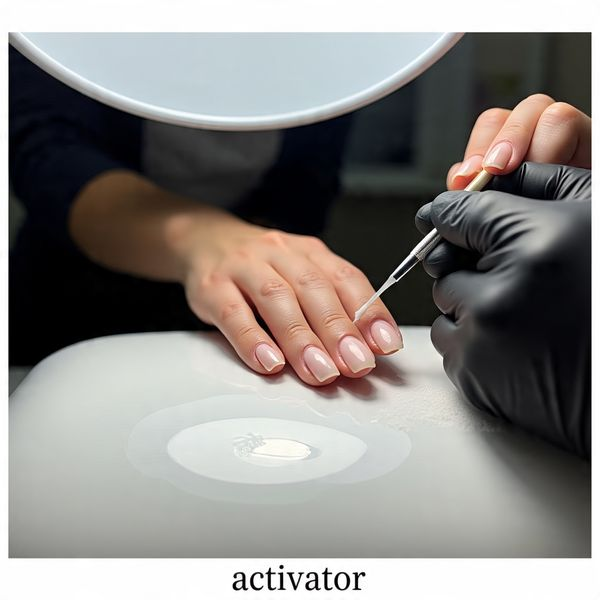
Once all nails are dipped and powdered to perfection, they apply a liquid called an “activator” or “sealer.” This is the magic potion. It chemically reacts with the adhesive and powder layers, causing them to harden almost instantly into a solid, durable shield.
Smoothing & Shining:
After the activator sets, your tech will gently buff the surface of each nail to smooth out any tiny imperfections and ensure it’s perfectly even. Then comes the final step: a glossy top coat. This gives it that signature high-shine finish and adds an extra layer of protection. Dries super fast, no lamp needed. You’re done!
The Flip Side: What Nobody Talks About Enough (The Potential Downsides)
Okay, it sounds amazing, right? But let’s be real humans – nothing is perfect. Here’s the less glamorous side:
- The Big One: Removal is CRITICAL (and Often Botched): This is where the most damage happens. DO NOT PEEL OR PICK IT OFF. Seriously. Ripping dip powder off takes layers of your natural nail with it, leaving them thin, weak, peeling, and painful – like sandpaper ripped across them. The only safe way is professional removal. They file off the top layer, then soak your nails in pure acetone (often wrapped in foil) for 10-20 minutes to dissolve the adhesive. Even then, acetone is incredibly drying and harsh on your nails and skin. DIY removal is risky and frequently leads to damage. This is a major commitment.
- Hygiene Horror Stories: This is a big red flag flagged by experts like dermatologist Dr. Chris Adigun. Think about it: multiple clients dipping their fingers into the same jar of powder. That’s like everyone double-dipping their chip at a party – bacteria and fungus paradise! Reputable salons must either use individual portion cups for each client or, better yet, “sprinkle” the powder over the nail instead of dipping into the communal jar. Always ask about their hygiene practices before you commit.
- Potential for Nail Thinning: While the initial buffing might be less aggressive than acrylics, the repeated buffing during fills and the harsh acetone soaking during removal will thin your natural nails over time. They can become brittle and weak underneath the pretty powder armor. Regular breaks are essential.
- Chemical Sensitivities & Allergies: The adhesives and powders contain chemicals. Common culprits include methacrylates, which can cause allergic reactions (redness, itching, swelling, even lifting of the nail bed) in some people. Others might contain toluene or formaldehyde derivatives, which are respiratory irritants. If you have sensitive skin or allergies, patch testing or avoiding it altogether might be wise.
- Cost Factor: Dip powder manicures are generally more expensive upfront than a basic polish change or even a standard gel manicure. Expect prices in the range of $50-$85 (or NZD $60-$65 on promo), depending heavily on the salon’s location, reputation, nail length, and complexity of design.
- Thickness Can Be Real: While a good tech minimizes it, multiple dip layers do add thickness, especially if you’re building length. It can feel less natural than a thin gel overlay. If you prefer an ultra-natural “my nails but better” look, this might bug you.
- The Commitment is Real: Because removal is such a pain and fills are needed every 2-3 weeks as your nails grow out, it’s a high-maintenance relationship. Skipping fills or trying to remove it improperly leads straight to damage city.
Dip Powder vs. The World: How Does it Stack Up?
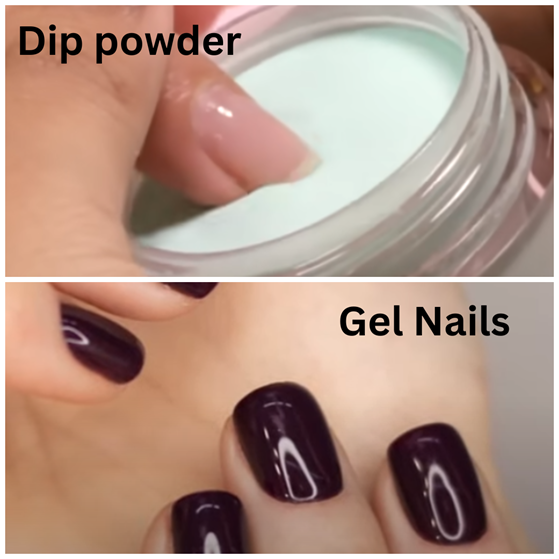
- vs. Gel Polish:
- Dip Wins On: Durability (less chipping), Strength (better for weak nails/extension), No UV light.
- Gel Wins On: Thinner feel, Easier & Safer Removal (soaking in acetone still required but generally less damaging than dip removal), Often cheaper upfront, Faster application (sometimes), More “natural” look potential.
- The Verdict: Want maximum longevity and strength without UV? Dip. Prefer a thinner feel and easier removal? Gel.
- vs. Traditional Acrylics:

- Dip Wins On: Generally lighter feel, Less intense chemical smell during application, Often perceived as “less harsh” (though removal is similar), Simpler application process (no liquid monomer mixing).
- Acrylic Wins On: Ultimate strength for very long/extreme extensions, Better for complex 3D nail art sculpting, Can be easier to fill/repair small breaks at home (with skill).
- The Verdict: Want lighter weight and less odor? Dip. Need extreme length or sculpting? Acrylics. Both require careful removal.
- vs. Good Ol’ Nail Polish:
- Polish Wins On: Gentlest on nails (no buffing/chemical removers needed), Cheapest, Easiest to change at home, Zero commitment.
- Dip Wins On: Unbeatable longevity and shine, Chip resistance, Strength.
- The Verdict: If nail health is your absolute top priority and you don’t mind weekly touch-ups, polish is king. If you need your mani to survive real life for weeks, dip is the heavy lifter.
Keeping Those Dips Looking Fabulous: Real Talk Aftercare
You invested time and money, so protect it!
- Gloves Are Non-Negotiable: Seriously. Washing dishes, cleaning with chemicals, gardening – wear gloves. Harsh soaps and cleaning agents are the enemies of longevity and can dehydrate your nails and skin underneath.
- Moisturize Like Crazy: Acetone removal is drying, and daily life takes a toll. Slather on a rich hand cream multiple times a day, paying special attention to your cuticles. Consider a dedicated cuticle oil or serum – massaging it in boosts circulation and keeps everything flexible and healthy.
- Resist the Pick: Seeing growth or a tiny lift? DO NOT PICK OR PEEL. This is the fastest way to destroy your natural nails. Book a fill at the salon.
- Mind Your Sanitizer: Frequent use of alcohol-based hand sanitizers can be very drying. Try to use milder soaps when possible, or opt for alcohol-free sanitizers if you must.
- Get Regular Fills: Don’t wait until it looks terrible. Going back every 2-3 weeks for a fill keeps the look seamless and prevents stress on the grown-out section, which can lead to lifting or breaks.
FAQ: Burning Questions Answered Honestly
“How long do they REALLY last?”
Honestly? Done well and cared for, 3 weeks is very achievable. 4 weeks is pushing it for most people, as noticeable growth near the cuticle becomes obvious. DIY kits usually last 2-3 weeks. It depends heavily on your nail growth speed, lifestyle, and the tech’s skill.
“Is dip powder just fake nails?”
Yes, essentially. It’s an artificial enhancement applied over your natural nail, using acrylic powder and adhesives. It adds strength and length.
“Is dip more expensive than gel?”
Usually, yes, for the initial set. However, because it lasts significantly longer for many people, the cost per week might actually be lower than getting gels redone every 2 weeks. Do the math for your habits.
“Are dip powder nails safe?”
It’s complicated. Safer than acrylics regarding fumes? Often. Safer than gel regarding UV exposure? Yes. However, the hygiene risks (shared powder) and the significant potential for damage during improper removal are serious safety concerns. Using a hygienic salon and getting professional removal makes it much safer. “Safe” is relative – even regular polish remover has risks.
“Can I do dip powder at home?”
Absolutely, kits are widely available. The learning curve is steeper than regular polish but often easier than acrylics. Hygiene is even MORE critical at home – never double-dip your own fingers into the powder jar! Pour it out. And removal at home is extremely risky for causing damage. Proceed with caution and lots of research.
The Final Word: Is the Obsession Justified?
Dip powder nails deliver serious durability, a glossy finish, and no need for UV – ideal for anyone wanting long-lasting, low-chip color. But they come with trade-offs: harsh removal, hygiene risks, and potential nail damage if not done right.
Thinking of trying it? Choose a reputable, clean salon, commit to proper removal, and give your nails breaks. With the right care, dip can be a beautiful, lasting option – just don’t peel them off!