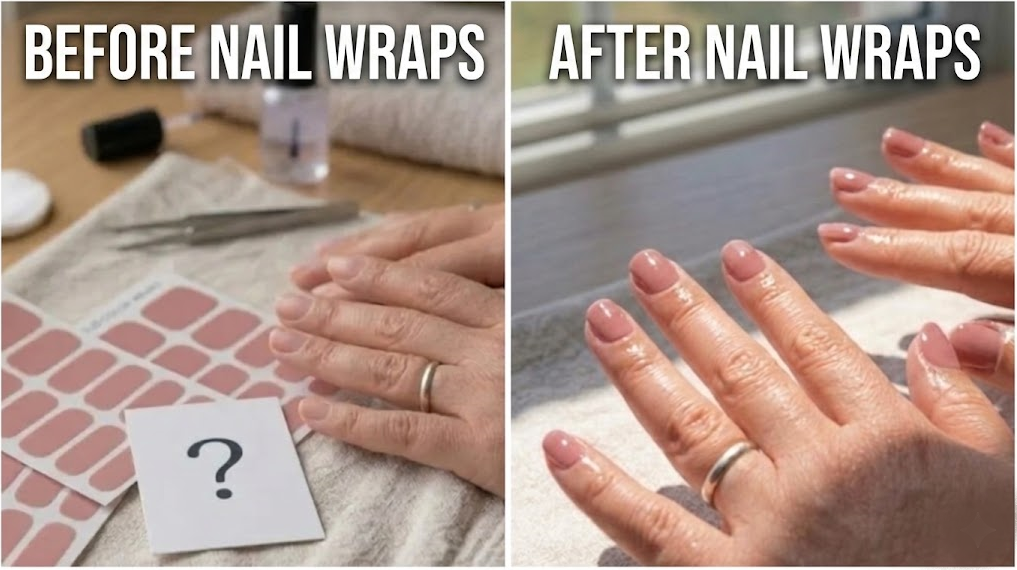
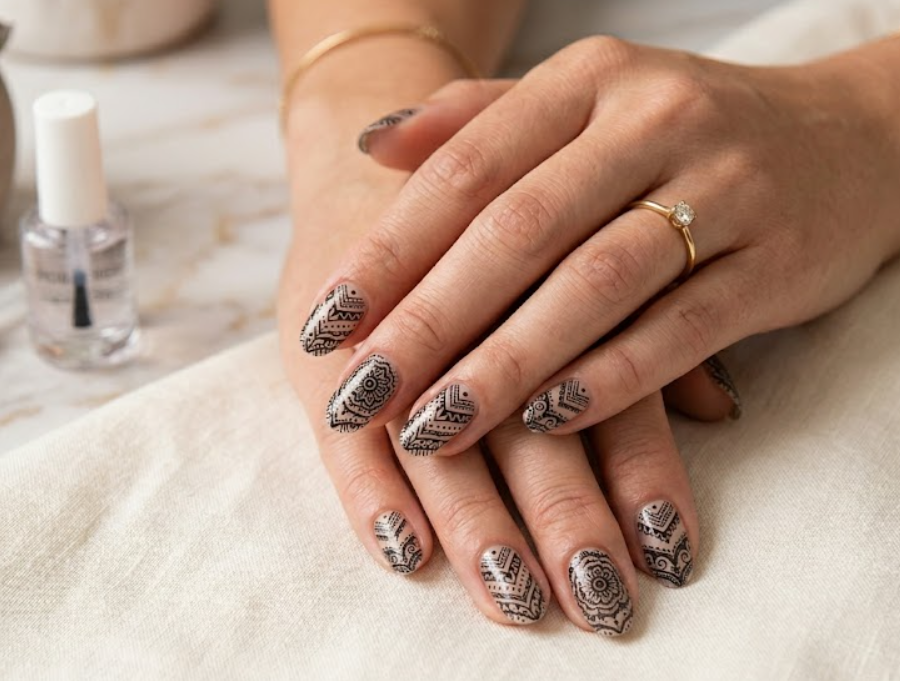
Nail wraps are a modern beauty solution that provide an easy and mess-free alternative to traditional nail polish. These are pre-designed adhesive strips that are applied directly onto the nails, giving a neat and polished salon-like look at home.
Nowadays, nail wraps are becoming popular because they are time-saving, easy to apply, and offer a wide variety of designs. People no longer have to worry about long drying times or smudging, which makes them an ideal choice especially for those with busy lifestyles.

They are mainly best for people who want a quick manicure and like nail art but do not have the time or budget to visit a salon. From beginners to professionals, everyone can use them easily without any special skills.
A. What types of nail wraps are there?
Nail wraps are available in different types so that every person can choose according to their preference, comfort, and nail style. The two most common and popular types are nail polish wraps and semi-cured gel wraps.
Nail polish wraps
Nail polish wraps are simple adhesive strips that give a normal nail polish look. Their texture is light, and they are applied directly onto the nails without any curing process. They are best for beginners because their application is fast and easy.
Semi-cured gel wraps
Semi-cured gel wraps are a slightly more advanced type. They are gel-based and are cured with UV/LED light after application. Because of this process, their finish looks smoother, glossier, and more like salon-quality. They are also more long-lasting.
| Feature | Nail Polish Wraps | Semi-Cured Gel Wraps |
| Material | Lightweight adhesive strips | Gel-based material |
| Application | Easy, no special tools needed | Slightly advanced application |
| Curing | No UV/LED required | Requires UV/LED curing |
| Durability | Moderate wear time | Longer-lasting finish |
| Finish | Simple nail polish look | Glossy, salon-quality shine |
| Ease of Use | Beginner-friendly | Best for experienced users |
B. Benefits of Nail Wraps
Nail wraps are a modern beauty shortcut that give an instant polished nails look at home, where neither much time is required nor is there any dependency on a salon. Their biggest advantage is that they are extremely easy to use, which is why even a beginner can achieve a stylish manicure without any experience.
Compared to traditional nail polish, they are a much faster option because there are no drying steps involved, and the application is based only on sticking and finishing. In addition to this, they are also cost-effective, and multiple uses are possible from one set, which makes them budget-friendly. The most appealing part is that the final result looks smooth, glossy, and like a professionally done manicure, with a complete salon finish.
C. What tools are needed?
If you have ever tried to apply nail wraps before but did not get a good result, the issue might be the technique or not having the right tools. That is why it is important to use proper tools so that the application is smooth and the finish looks professional.
These items ensure that the application is done properly and the finish looks professional:
- Nail file
- Cuticle pusher
- Base coat
- Top coat
- Nail wraps
- Scissors / clippers
- Remover oil / nail polish remover
With these tools, the application not only becomes easy but the overall look of the nails also becomes more neat and durable.
NOTE: If some tools are not available, there is no need to worry. You can use your common sense and alternatives can also be used. For example, if a cuticle pusher is not available, you can use an orange stick or a similar soft tool.
D. How to Apply Nail Wraps (Step-by-Step)
Choosy Nails Tip:
Before applying nails, make sure to clean the nail plate thoroughly. Remove all oils, dead skin, and grown-out cuticles for better adhesion. You can use Sally Hansen cuticle remover and gently clean around the edges. This helps nails last longer and stick better.
Proper nail wrap application is a simple process; you just need to follow the right steps. In this process, we are covering a basic method that works for all types of nail wraps.
Step 1: Prep Your Nails
First of all, it is important to clean and prepare your nails. In this step:
- Wash your hands thoroughly
- Remove oils and dirt from the nails
- File your nails into the desired shape
Step 2: Cuticle Care
In this step, the nail bed is cleaned and smoothed:
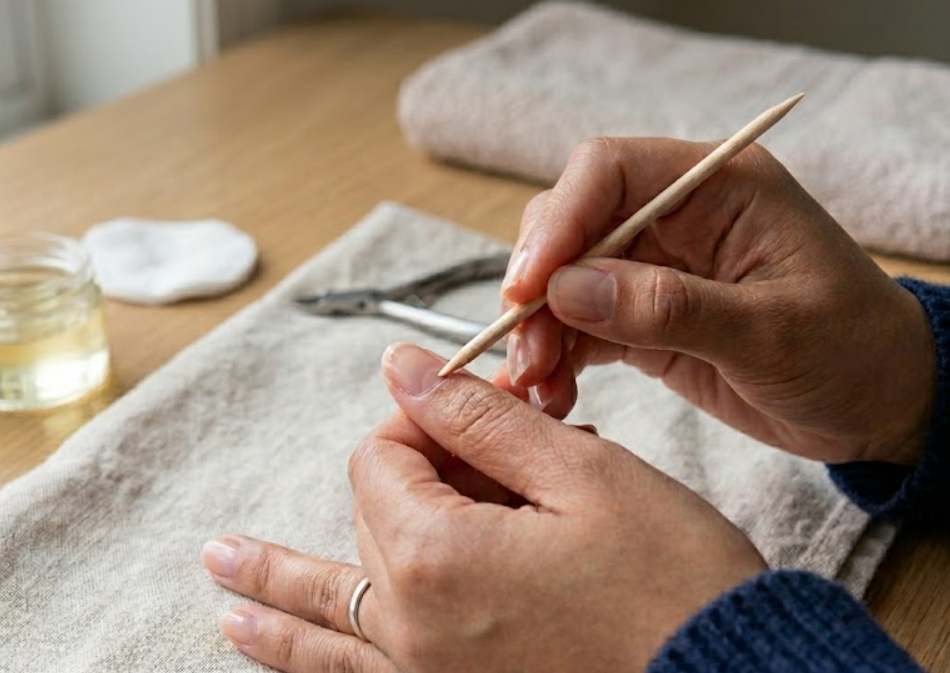
- Gently push back the cuticles
- Light trimming can also be done if necessary
Step 3: Apply Base Coat (Optional but Recommended)
Applying a base coat is optional but highly recommended because it:
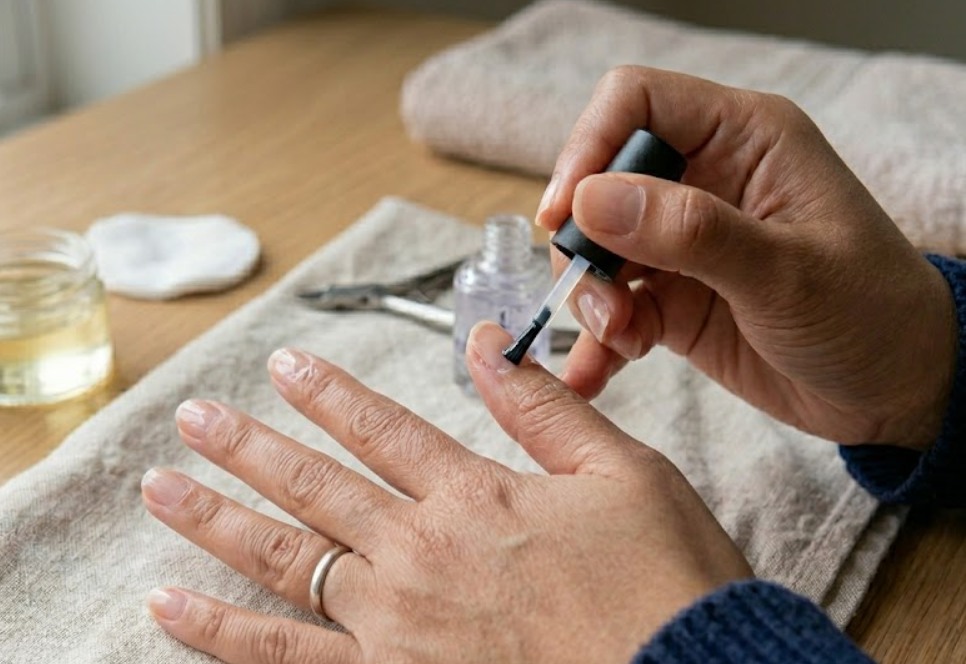
- Protects the nails
- Improves the adhesion of the nail wrap
- Always dehydrate nails with rubbing alcohol. If I don’t do this they start popping off after several days or lifting.
- I always use a base first, I have been using Nail Tek II but am going to try Orly Rubber Bonder.
- If the nail strips are stiff, hit them with a hair dryer for 5 seconds to soften them up and make them more pliable.
- For strength and to be able to grow your nails longer try a builder gel over the strips. It makes your nails super hard and helps hold the nail strips down.
- Cut the strip as close to the nail as possible and file AFTER you put either a gel or builder coat on. This will keep you from ripping the strips.
- Top with uv/led top coat. I like Beetles no wipe uv/led top coat with NLG strips.
PhysicalAssistance92 on REDDIT
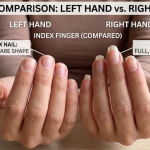
Step 4: Choose the Right Size
For perfect results, selecting the correct size is very important:

- Choose a properly fitting wrap for each nail
- A slightly smaller size is better than an oversized one
Step 5: Apply the Nail Wrap
Now the main application begins:
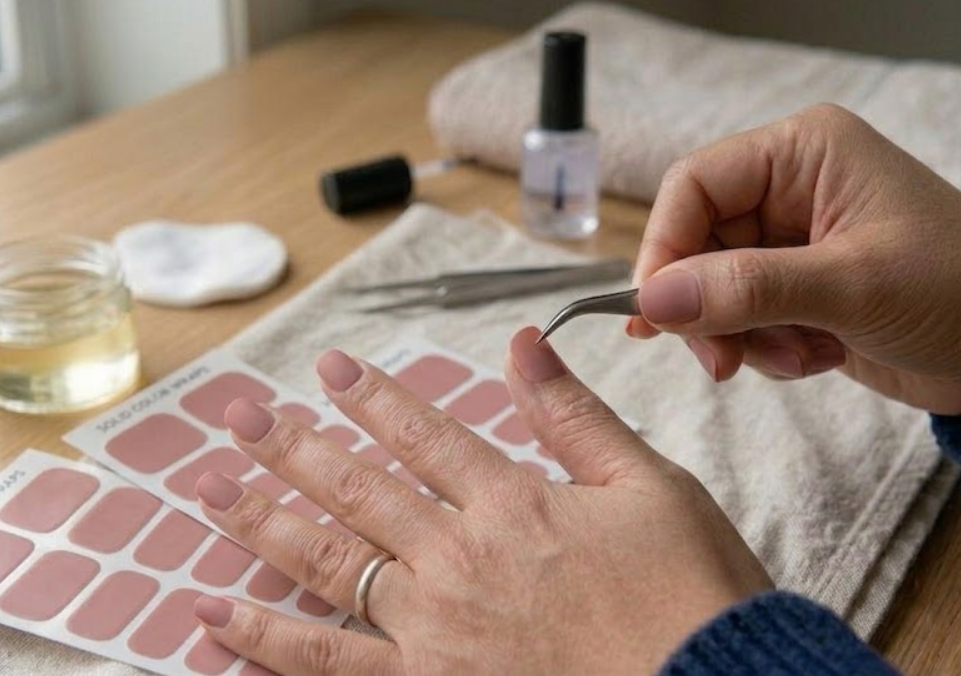
- Place the wrap close to the cuticle
- Slowly press it onto the nail
- Avoid touching the sticky side
Nails should be completely dry and oil-free. Wraps do not stick properly on a wet surface. Also, do not touch the sticky side directly, as this weakens the glue and the wrap can lift quickly.
Choosy Nails Tip
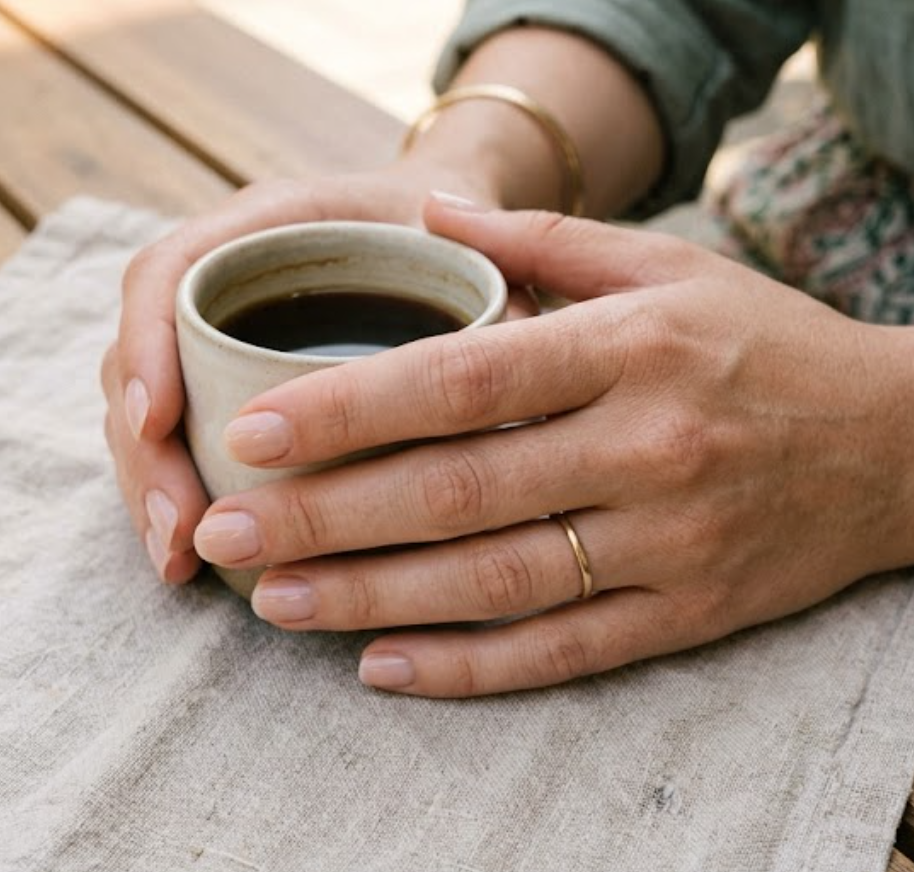
Do not consider your nail routine as just a beauty task; instead, make it a relaxing moment. Sitting comfortably and applying nail wraps can calm the mind and give you a break from daily stress.
Step 6: Trim & File Excess
Removing the extra portion is important for finishing:

- Fold or cut the excess wrap
- File the edges to create a smooth finish
Buff your nails lightly and invest in a primer if you’re having trouble with longevity and adhesion! Once I started doing both and not one or the other, I started getting 2-2.5 weeks out of my sets, sometimes 3!
mrmothmanmothingaman on reddit
Step 7: Seal with Top Coat
In the final step, protection and shine are added:
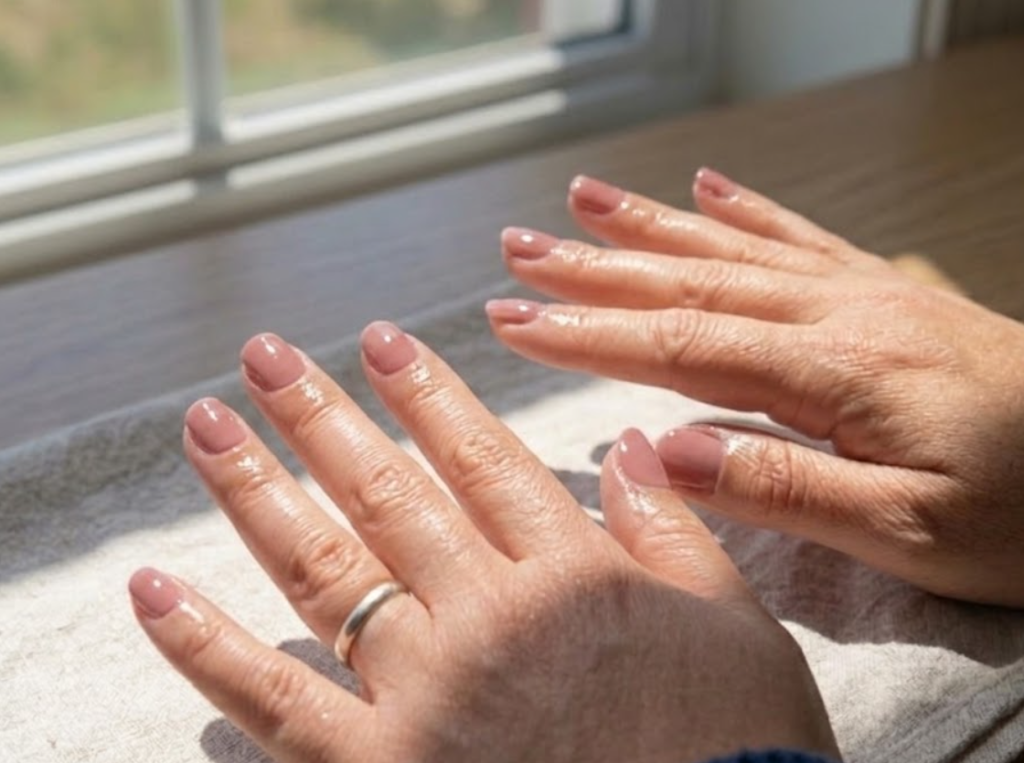
- Apply a top coat
- This makes the manicure long-lasting and glossy.
If you follow a busy routine, nail wraps can be a quick self-care hack. In a short amount of time, you can get ready while still maintaining your grooming and confidence without spending hours.
Choosy Nails Tip
This is the basic process that forms the foundation of every nail wrap application.
Now in the next sections, we will look at different variations of the same process (gel, semi-cured, short nails, French style).
Special Application Guides
In this section, the basic application process remains the same, but slight adjustments are made according to different nail wrap types and nail situations. These variations help you achieve better results and a more professional finish.
How to Apply Gel Nail Wraps
In gel nail wraps, the basic process is the same, but their texture is stronger and thicker. That is why after application, proper pressure is required so that the wrap bonds well with the nail surface. The finish is usually more glossy and salon-like.
Don’t get confused by “gel effect” top coats — they are not real gel. Always use UV/LED cure gel top coats for better results, especially with SCG wraps. Real gel + proper curing gives longer-lasting manicures, and builder gel can make them even stronger. Non fast-dry top coats also work better with wraps like Lily and Fox and Color Street.
choosy nails tip
How to Apply Semi-Cured Nail Wraps (Curing Step)
The process is the same, only one extra step is added — UV/LED curing. After applying the wrap, the nails are cured under light so that the gel properly sets. This step makes them more durable and long-lasting.
How to Apply on Short Nails
For short nails, the process is the same, but size selection and placement need to be done more carefully. Choosing smaller wraps is better, and it is important to seal the edges properly to get a clean finish.
French Manicure Nail Wrap Application
In the French style, the basic steps remain the same, but the focus is on tip design alignment. The wrap is placed in a way that the white tip or design looks natural and balanced, so that a classic French manicure look can be achieved.
E. Best Nail Wrap Designs / Recommendations
This video will help you decide what is better before you go shopping for nail wraps.
Popular Styles
Some nail wrap styles are always in trend because they suit every occasion and are easy to carry:
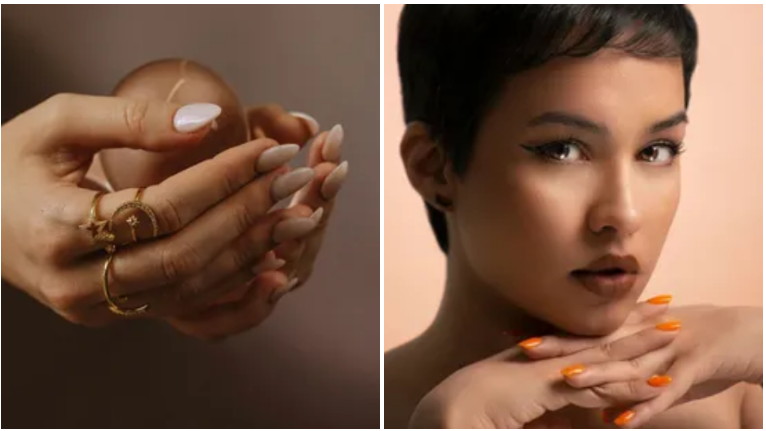
Nude & natural tones:
Perfect for a simple, clean, and everyday elegant look
Glitter wraps:
An eye-catching option for parties, weddings, and festive events
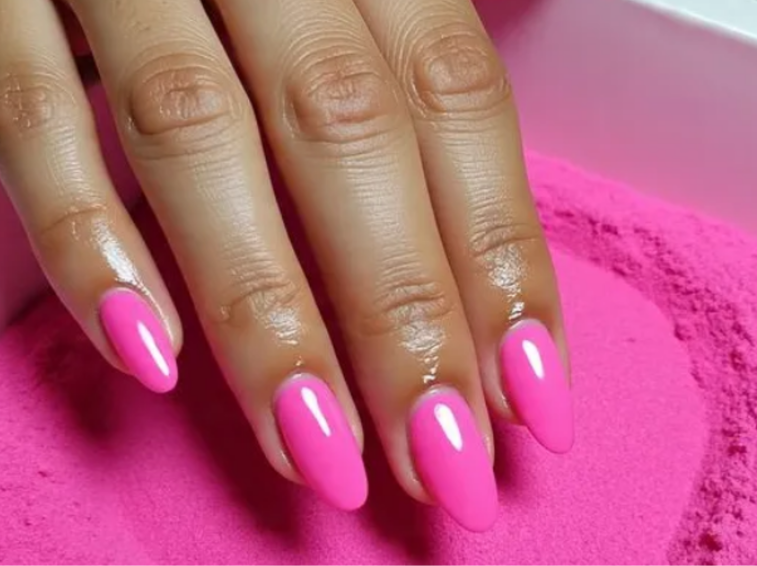
The best choice for a soft and feminine vibe
Bold solid colors:
A strong and stylish statement with minimal effort
Trending Designs
Nowadays, some modern designs are in high demand as they give nails a unique and trendy look:
Chrome / mirror finish:
Popular for a high-shine and futuristic look
Modern French tips:
An updated version of traditional French with added colors
Marble effect wraps:
An artistic and premium-style appearance
Minimal line art:
Ideal for clean and aesthetic design lovers
Pastel gradient styles:
Soft color blending that looks subtle and trendy
F. How Long Do Nail Wraps Last?
The durability of nail wraps usually depends on each person’s use and lifestyle, but on average they can stay on nails for a good number of days if applied properly and carefully.
Average duration
Normally, nail wraps last comfortably for 7 to 14 days, and gel-based or semi-cured types can last even longer than this with better durability.
Factors affecting longevity
The lifespan of nail wraps depends on the following factors:
- How well the nails were prepared
- Exposure to water and chemicals
- Whether a top coat was used or not
- Daily activities (heavy hand use)
- Proper sealing and application technique
When choosing these designs, it is best to consider your personality, occasion, and comfort so that the final look feels natural and confident.
Nail wraps are a simple and effective way through which you can achieve clean, stylish, and professional-looking nails at home. If you use the right tools, follow proper steps, and avoid small mistakes, the result becomes smooth and long-lasting.
If you do not get a perfect result the first time, there is no need to worry — with a little practice, you can easily achieve a pro-level application.
Always focus on prep, choose the correct size, and never ignore finishing — these three things take your nail wraps to the next level.