What is Cat Eye Gel Polish?
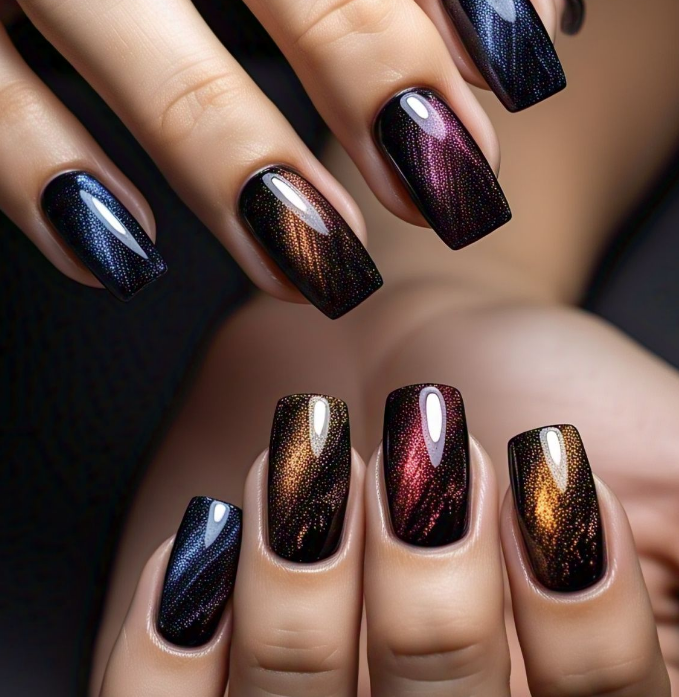
Cat eye gel polish creates a sexy and charming effect, changing color when viewed from different angles. This is possible thanks to the magnet powder in the gel, which reacts to a magnet to form a metallic stripe that resembles a cat eye stone. Unlike regular gel polish, this effect adds a mysterious and complex touch to your nails. It’s a unique and popular trend for anyone looking to make their nails stand out.
How to Use (Magnetic) Cat Eye Gel Polish at Home: Expert Guide
Here’s a simple, step-by-step guide to get your own magnetic cat eye nail design at home, whether you’re a pro or just starting. Follow these steps, and you’ll have perfectly magnetic gel art that stands out.
Step-by-Step Instructions:
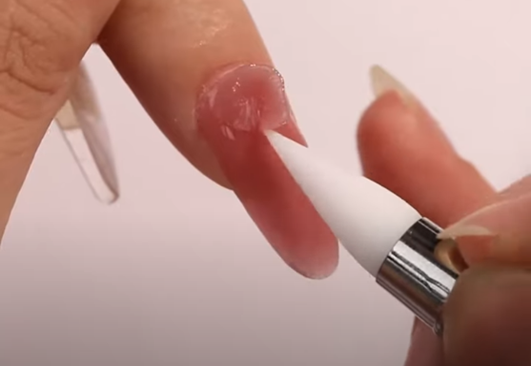
Prep Your Nails
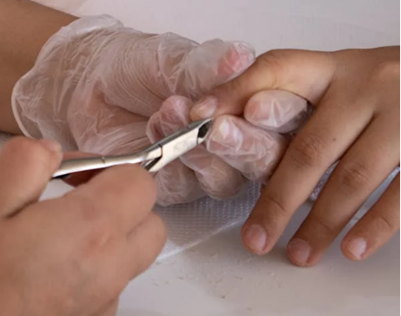
Start by trimming the cuticle, buffering the nails, and ensuring they are clean and dry. This step sets the base for a long-lasting nail design.
Apply Base Coat
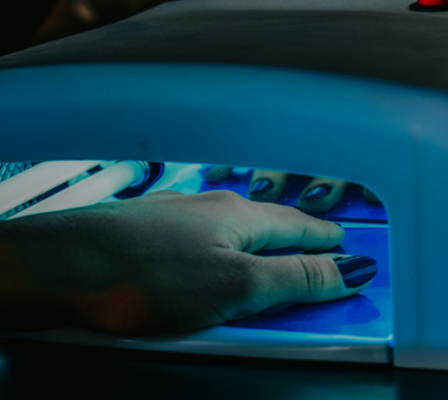
Use a base coat for your nails, which helps the polish stay lasting longer. Cure it under an LED lamp for 30 seconds or a UV lamp for 1 minute.
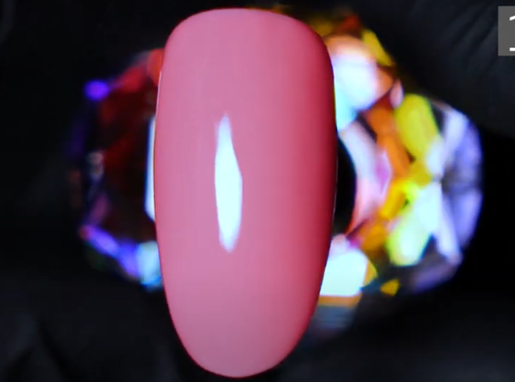
Apply Base Color
Add a layer of base color and cure it again. This provides a solid foundation for the cat eye gel polish.
Stir the Magnetic Gel
Stir your magnetic gel to evenly distribute the gel particles. This ensures a smoother application and a bolder magnetic effect.
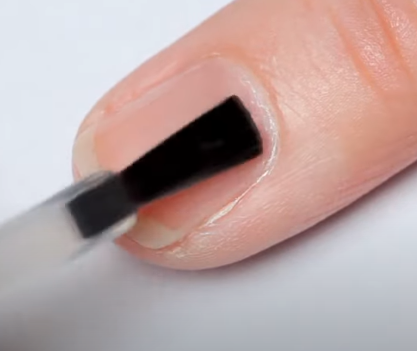
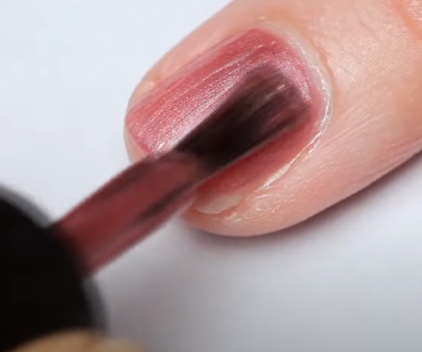
Apply Cat Eye Gel Polish
Apply a layer of cat eye gel polish to one nail at a time. This prevents accidentally activating other nails. For a bolder magnetic effect, use a generous amount of polish.
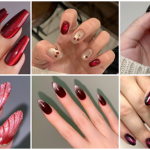
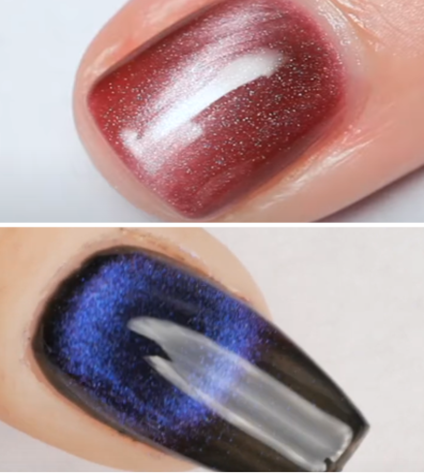
Love intense color? These red cat eye designs are fiery, dramatic, and perfect if you want to make your nails the main event.
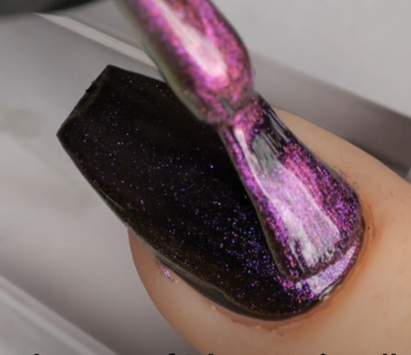
Activate the Magnetic Effect
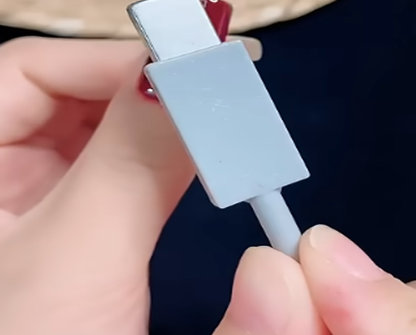
Hold the magnet stick about 1 cm tall from the nail for at least 10 seconds. Hover and adjust the stick as needed to get your desired overall effect.
Adjust and Reset If Necessary
If the design isn’t perfect, don’t worry! You can start over by swiping the polish or adding more. Be mindful that magnets can attract or repel, so avoid letting them hover for an extended time, as it might ruin the design.
Cure the Gel
Once satisfied with the cat eye line, cure the design under an LED or UV lamp.
Use the appropriate curing time: 30 seconds, 120 seconds, or 1 minute, depending on your lamp.
Apply Top Coat
Add a top coat to seal the design and cure it again.
Finish and Clean
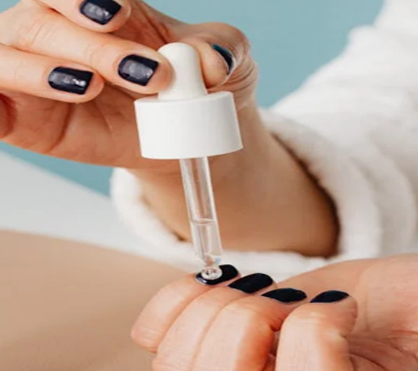
Wipe your nails with rubbing alcohol to remove the floating glue, then massage in some cuticle oil for hydration.
Enjoy Your Magnetic Mani
Admire your perfectly polished magnetic mani, a unique and eye-catching addition to your style!
“Guide to Top Magnetic Cat Eye Gel Nail Designs You’ll Love”
The Fully Activated
The Framed
The French
The 3D
The Layered
1: The Fully Activated
Create an eye-catching, magnetic gel look with a full activation of the magnetic particles on your nails for a striking effect.
How to Create
- Start with a Jelly Color: Use a translucent or “jelly” and Apply one coat, cure, and enjoy its pigmented finish.
- Apply Magnet Gel Generously: Use a matching magnet gel, such as U-3 Moldavite Stone, and apply it generously to ensure a bold effect.
- Use the Magnet for Effects: Place the magnet on all four sides of the nail. This moves the magnetic glitter particles to the top, creating a dazzling jewel-peek-a-boo effect.
- Create a Border Effect: Use the magnet along the edges of the nail to push glitter toward the center, exposing some of the base color underneath. This gives a chic border effect.
Tip: Experiment with different placements to create unique looks that clients will adore!
For a bold, mystical twist, try these green cat eye looks—think emerald galaxies and forest glam.
2:The Framed
Achieve a chic and elegant look with a clean, framed design using the magnetic gel technique for a modern twist.
How to Create
- Choose Base and Magnet Colors: Use 276 from Kokoist as the base color (neutral tone with gold flakes) and Saturn #02 from the Planet Magnet collection for the magnet color.
- Use the Circular Side of the Magnet: Hover the circular side of the magnet at the center of the nail, then lift it carefully to position the sparkles perfectly.
- Adjust Sparkles Slightly: If needed, move the particles toward the edge, but avoid overworking it.
- Cure and Seal: Cure the nails and finish with a top coat to lock in the design.
3: The French
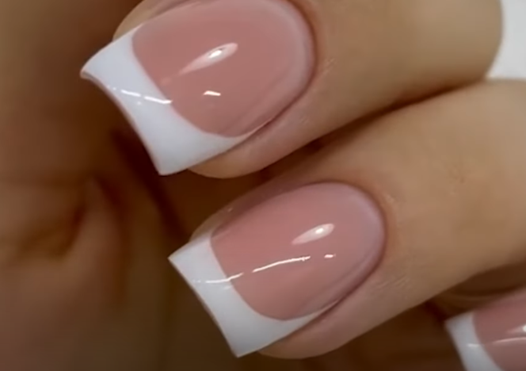
Elevate your French tip manicure with a magnetic gel design that adds depth and dimension to your nails.
How to Create
- Apply Base Color: Use a dark, pigmented shade like 224 Midnight Forest, apply one coat, and cure.
- Add Magnet Gel: Apply DP-3 Turquoise and Many generously over the entire nail without curing.
- Shape the French Line: Use the rectangular side of a magnet to hover from the top, pushing the particles to the free edge. For a more pronounced line, switch to the circular side and adjust, then take it to the lamp for a full cure.
- Clean and Deepen the Smile Line: Use a round brush with a bit of the dark base color to frame and clean the smile line, shaping it as deep or wide as desired, then cure again.
Obsessed with modern twists on classics? See 15 cat eye French tips nails for elegant, sparkling styles with serious personality
4 :The 3D
Create stunning 3D magnetic nail designs by combining magnetic gel with textured gel for unique, show-stopping effects.
How to Create
1. Apply Base Gel: Start by applying gel to your nail and shaping it into the desired 3D form, using gloves to handle uncured products.
2. Shape the Design: Use a spatula to grab a small amount of High texture gel and shape it on the nail. If it gets sticky, add a little alcohol to continue working.
3. Add Magnetic Gel: Without curing the gel, apply a sheer color, like glass magenta, to the 3D piece for a translucent effect.
4. Magnetize Your Design: Grab a magnet and experiment with different effects like lines or full coverage to enhance the 3D gel. Once happy with the design, cure and apply top coat.
5:The Layered
Transform your magnetic gel nails with layered colors and design techniques for endless creative possibilities.
Want softer, flirty results? Explore these stunning pink cat eye nails for looks that shimmer sweetly in every light.
How to Create
Transform your magnetic gel nails with layered colors and design techniques for endless creative possibilities.
- Start with a soft cashmere base color, apply one coat, and cure.
- Apply a generous coat of Moon silver magnetic gel, use the magnet to create a cat eye effect, and cure.
- Overlay with a sheer color like magenta for extra depth, and experiment with decals or stamping for added designs.
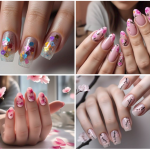
Different cat eye nail design.
Dark green cat eye nails and green dots on black nails
Gray cat eye nails with white flowers
Purple cat eye nails and glitter nails
Light pink cat eye nails with small dried flowers.
Black galaxy style cat eye nail.
FAQs:
Do you need a magnet for cat eye gel polish?
Yes, to get the cat-eye or velvet effect with magnetic gel polish, you do need a magnet. While you can apply the gel without it for a more uniform glittery look, using a strong magnet is essential for achieving the full effect. A fridge magnet is not strong enough to create the desired look, so it’s best to use a proper magnet designed for magnetic gel.
How many coats of Cat Eye Gel should I apply?
Apply 2 coats of Cat Eye Gel, curing for 60 seconds between each coat. Then, add a third coat, hover the magnet for 5 seconds, and drag it across your nail to complete the design. You can repeat this process on other parts of the nail.
Do you cure Cat Eye Gel?
Yes, after applying Cat Eye Gel, do not cure it immediately. Place the magnet over your nails for 3-5 seconds to create the cat eye effect, then cure it under a UV/LED lamp. Finally, seal with a gel top coat and cure again.
How to use Reflective Cat Eye Colours?
- Prep and base your nails as usual.
- Apply one coat of your chosen Reflective Cat Eye colour from the Once Upon a Time collection and cure.
- For the Cat Eye effect, apply a second coat and use the Halo Magnet to drag it across the nail for 5-10 seconds.
- To intensify the effect, try using two magnets: one at the free edge and one at the base to magnetize the particles further.
- Finish with Halo Gel Polish Non-Wipe Top Coat for extra shine and cure.
Experiment with different base coats and magnets for unique, eye-catching designs!
How long does cat eye last?
For Cat Eye Gel Polish: The polish can last up to 2-3 weeks with proper application and care, depending on factors like nail growth, daily activities, and the quality of the products used.
For Cat Eye Surgery: The results of canthoplasty (cat eye surgery) can last 10 years or more, but various personal factors like skin elasticity and lifestyle can affect the duration.
How to Remove Cat Eye Gel Polish?
- File your nail bed with a nail file to break the top layer of the gel polish.
- Soak acetone on a cotton ball or cotton pad.
- Wrap the tip of the finger with aluminum foil to hold the acetone in place.
- After 10-15 minutes, use a cuticle stick to gently remove the gel polish.
- Buff your nails to smooth the surface.
- Finish by applying cuticle oil to nourish your nails.