Uneven nail shape basically refers to an imbalance in the width, length, or curvature of the nails. Sometimes one nail spreads out more on one side, sometimes the tip looks slightly slanted, or the nails on the left and right hand simply don’t match.
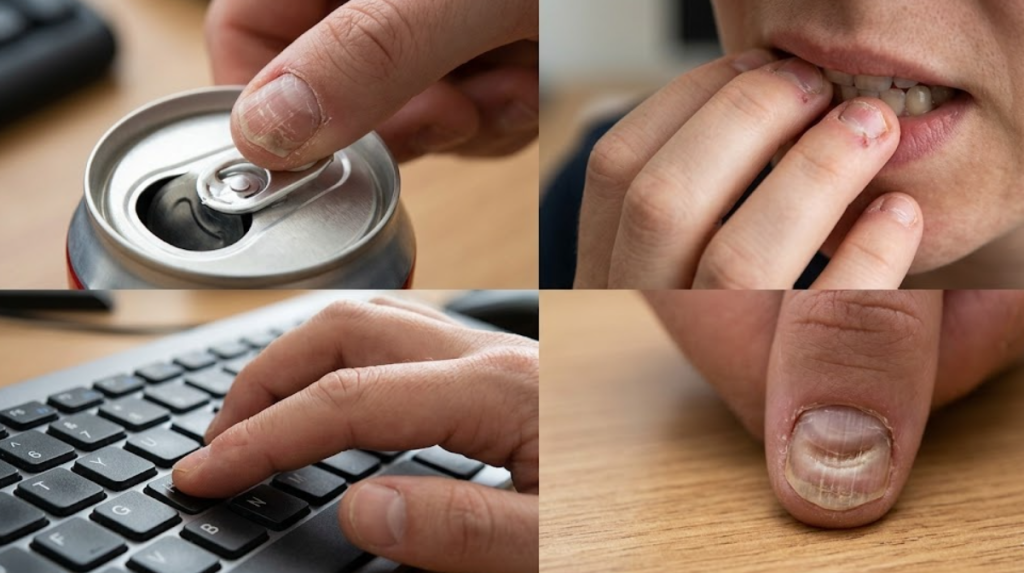
Why does this happen? There can be several reasons behind it — everyday habits like using nails as tools (such as opening cans), nail biting, applying more pressure on one side while typing, past injury to the nail matrix, incorrect back-and-forth filing techniques, or even simple genetics.
The good news is that while you cannot change the nail bed root from where the nail grows, you can definitely correct the appearance of the free edge (the white tip). Today, we are sharing professional secrets that bridge the gap between a rushed DIY job and a perfect salon finish. Whether you are willing to sacrifice a little length for perfect symmetry, or you prefer to maintain your long nails — there is definitely a method here for you.
Assessing Your Nail Shape
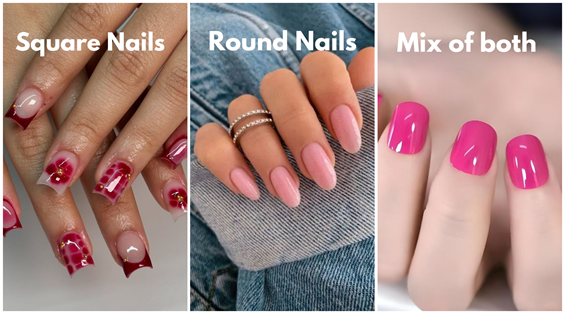
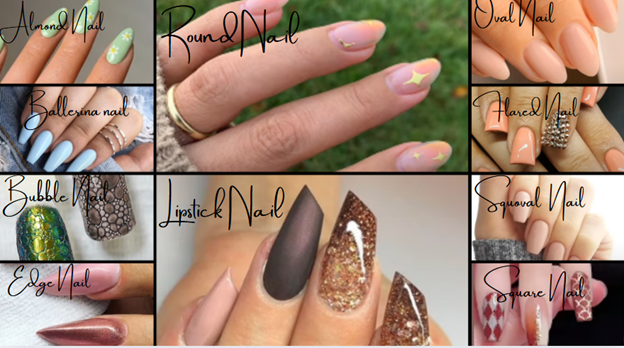
You can’t really fix a problem until you understand it properly! Before you even pick up a nail file, you need to observe your nails carefully like a little detective. First, figure out your natural nail shape — are you more of a square, oval, round, or almond nail type? Knowing your base shape helps you understand where the unevenness is actually coming from.
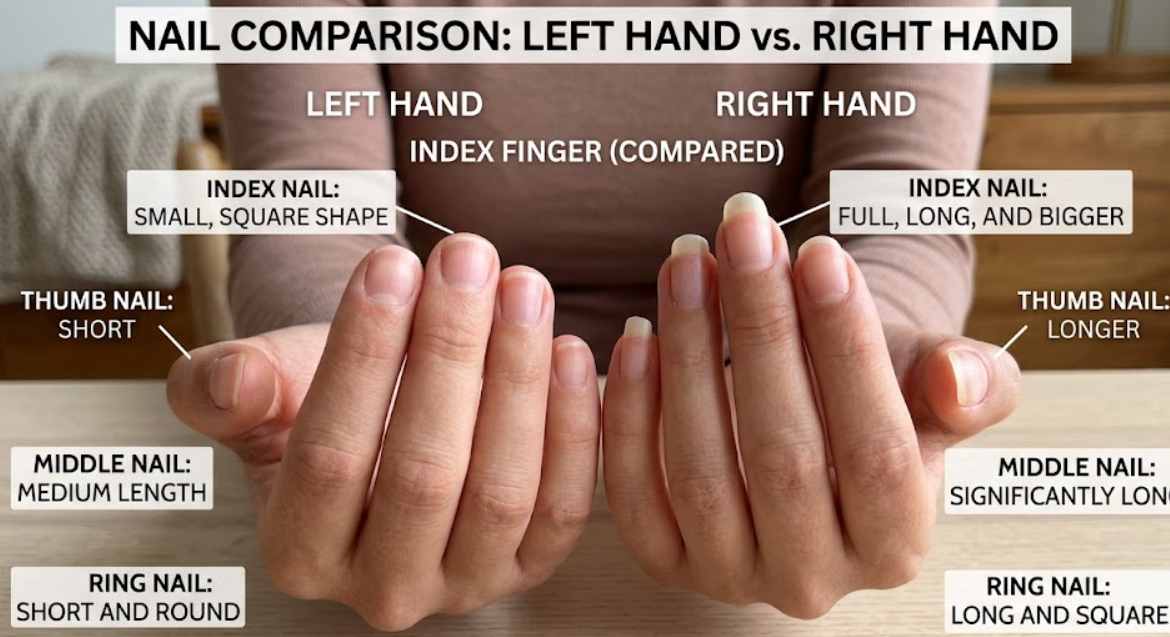
Now, hold both hands up in natural light with your palms facing you. Compare the same fingers on each hand (for example, left index finger vs. right index finger). Notice carefully — does one side edge look more slanted or slightly higher than the other?
You can also gently run your fingertip along the nail edge to feel any uneven surface, ridges, or imbalance in shape. This step is very important because it helps you understand whether you’re dealing with a small correction (just a few uneven millimeters) or a bigger reshaping issue where one side looks clearly different from the other.
Once you know this, it becomes much easier to decide which method you should follow next.
METHOD 1: Fix Uneven Nails by Shaping
If your nails are uneven and you want to make them look balanced, neat, and slightly shorter, this method is perfect for you.
In this method, you’ll learn step by step how to properly shape your nails so they look even and professionally done.
One important thing to remember:
These steps are ideally done before applying nail polish. However, if you’ve already applied nail polish (matte or any other type), you can still lightly shape your nails afterward to improve their overall appearance.
Now, simply follow the steps below carefully — and you can achieve a clean, salon-like finish right at home.
Complete Step-by-Step Correction
Prepare Your Hands:
If you skip this step, your results will never look truly perfect!
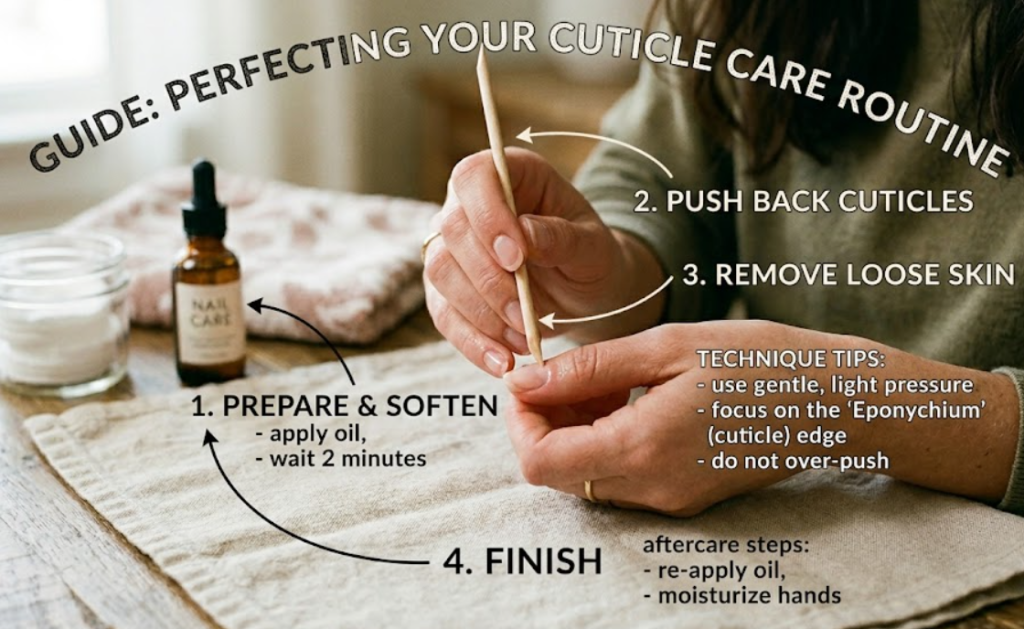
Start by washing your hands and drying them thoroughly with a lint-free cloth. Take a moment to enjoy a mini spa-like experience: soften your cuticles with a drop of jojoba oil or a quick soak in warm water. Then, gently push back your cuticles using an orangewood stick.
A clean, well-prepared nail surface reveals the true shape of your nail plate — making it much easier to achieve a precise and professional finish.
Safe Filing Technique
A single small filing mistake can make your nails permanently uneven! That’s why it’s best to put aside your basic drugstore emery board and switch to a 240-grit glass or crystal file. For a truly professional finish, this step is absolutely non-negotiable.
Always remember the golden rule: file in one direction only. Never use a back-and-forth “sawing” motion — it damages the keratin layers of the nail and creates tiny cracks, which can lead to peeling and future unevenness.
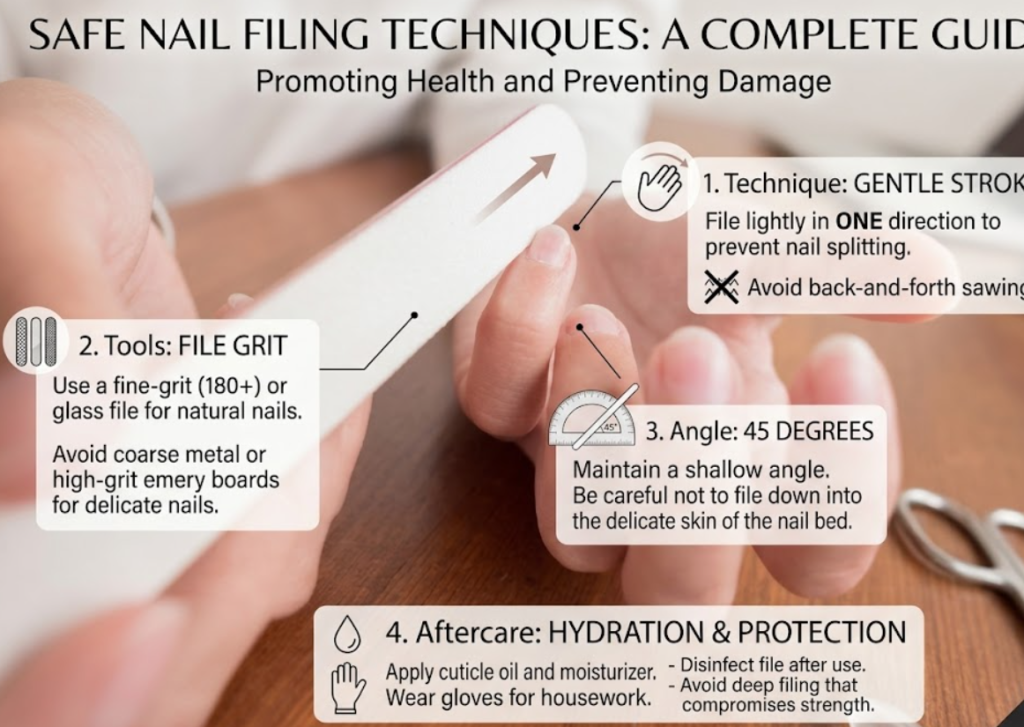
Start filing from the outer sidewall of the nail and gently move toward the center. Focus a bit more on the side that appears wider or slightly higher. Shape your nails according to your desired style:
- Square: Keep the edges straight and parallel to the sidewalls
- Oval: Soften the corners slightly to create a smooth, egg-like curve
- Almond: File in a tapered motion from the sidewalls toward the center tip
Be careful not to over-file the sidewalls (often called “smile lines”). Over-filing in this area can weaken the nail structure, make the nail bed appear wider, and may even lead to ingrown corners.
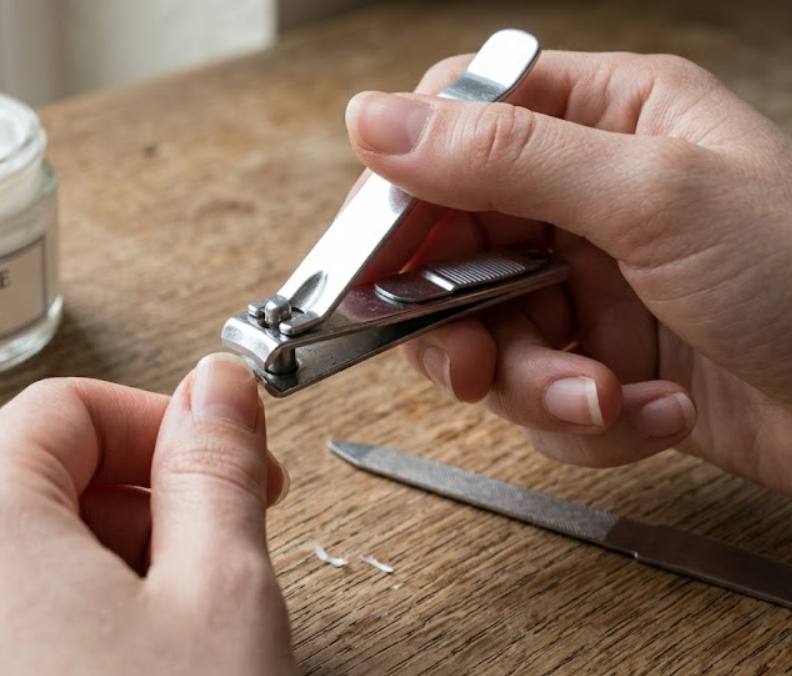
Fix Length Like a Pro
Cutting more is not the solution — smart adjustment is the real secret! You don’t need to shorten all ten nails just because two look uneven or crooked.
First, identify the nail that can act as your “standard” — usually the one with the most balanced and natural shape. Gently trim the longer nails to match this reference length using a nail clipper, and then refine the edges with a file.
For the shorter or slightly uneven nail, you are not shortening it further — you are only cleaning and correcting the edge to remove any crooked angle.
Finally, use a fine buffer to lightly level the tip so that no rough or jagged edges remain. This creates a smooth, even finish across all nails, giving a clean and professionally balanced look.
Smooth Surface
If the surface is not smooth, even a perfectly shaped nail will not look refined! Vertical ridges on the nail plate can make any uneven tip appear even more noticeable.
Use a gentle buffing block and make only 2–3 light sweeps to create a soft, smooth, matte finish. Avoid over-buffing — excessive buffing thins out the nail plate and increases the risk of breakage. After that, apply a ridge-filling base coat to create a glass-like smooth canvas for your polish.
Strengthening
If your nails are not strong, the uneven shape will keep coming back! Fixing the shape is only a visual improvement — the real solution is strengthening your nails from within.

Apply a nail strengthener every other day, preferably one that contains ingredients like hydrolyzed wheat protein or calcium. Make cuticle oil a daily habit — just like brushing your teeth.
Also support nail health from the inside by including biotin, zinc, and omega-3 rich foods in your diet. Strong nails are the foundation of long-lasting, even shape and a naturally polished look.
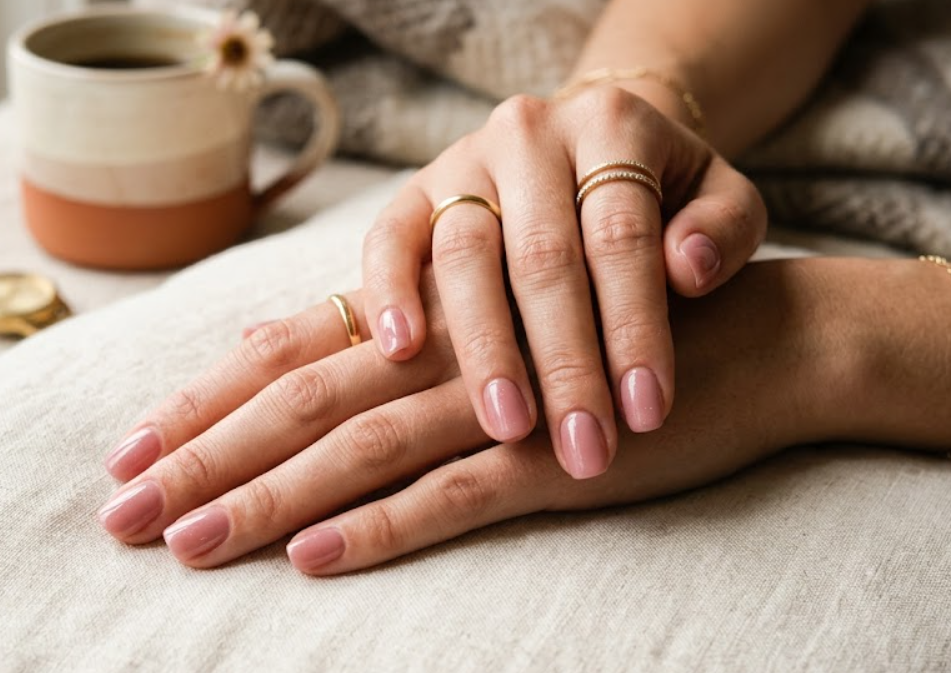
Final Professional Finish
This is the step that creates the real difference between “normal” and “professional” nails! Move slightly away from bright bathroom lighting and check your nail symmetry in soft, natural daylight. Rotate your hand from different angles and observe carefully. Do the edges feel smooth when they touch fabric? Does the shape of your right hand match the left?
Finally, remember this important point: the buffer is mentioned repeatedly because its purpose changes at each stage. The first use is for smoothing, while this final use is for finishing shine. You can use it again here to give your nails a polished, refined, and professional-looking finish.
METHOD 2: Fix Uneven Nails WITHOUT Shortening
If you want a perfect look without cutting your nails short — this method is for you! If your nail is uneven but you’ve worked too hard for that length to cut it off, you have two paths: real growth (slow) or a temporary visual fix (fast). For immediate visual correction, we rely on clever camouflage and enhancement.
Real Growth:
This approach requires patience. You don’t cut the nail. You simply do gentle filing every week so the crooked edge slowly grows into a straight line. Using cuticle oil helps improve blood flow, which can also slightly support better nail growth. This is a 4–6 week process, but the results are permanent.
Instant Nail Transformation Tricks:
If you cannot wait, you can use the options given below:
1. Press-On Nails
Honestly, this is like a secret shortcut for instantly better-looking nails. We’ve moved way past the old, cheap plastic tips — today’s high-quality press-on nails already come perfectly shaped in styles like oval, almond, or coffin.
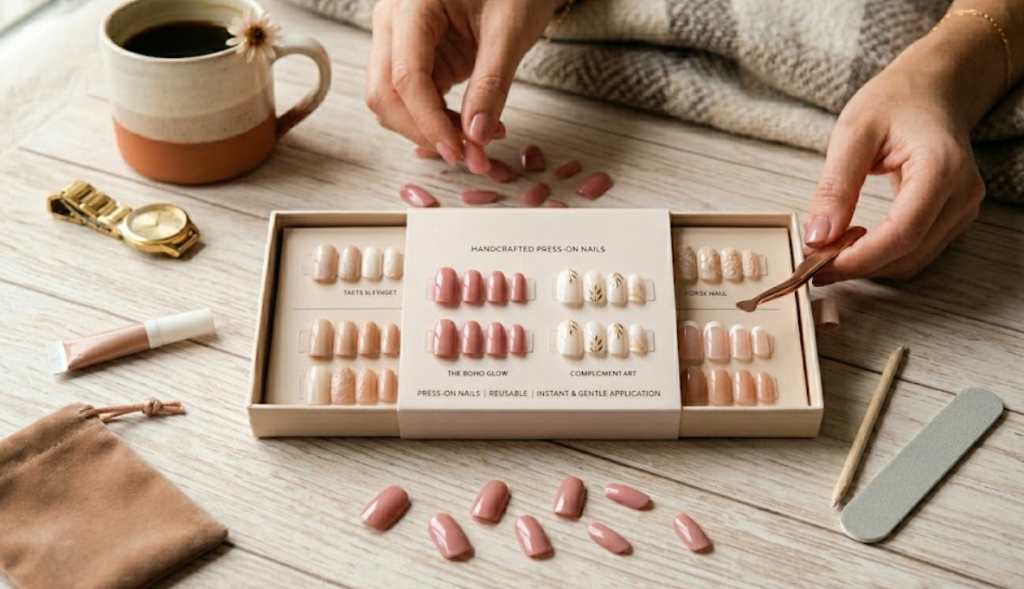
The best part? You can apply them in just 5–10 minutes, and they instantly hide any uneven or crooked natural nails underneath. They also look surprisingly natural, are reusable, and give you that clean, balanced finish that’s really hard to achieve with regular filing alone.
2. Nail Extensions

For a more natural, salon-like finish, you can try soft gel tips (like Gel-X) or polygel. Since the shape is built from scratch, you can fully control the symmetry and create straight sidewalls even if your natural nail is a bit uneven. It needs a small setup like a lamp and builder gel, but it gives you a perfect, long-lasting shape for up to 3 weeks.
3. DIY Paper Nail Hack
If a nail corner breaks and ruins your shape, you can quickly patch it using a small piece of tea bag or nail silk with a drop of nail glue. Seal it with a thick top coat to keep it in place. It’s a quick, temporary fix that helps you save your nails for a few days without having to trim or reshape everything.
You may find it helpful to watch the video below for a visual guide.
4. Nail Polish Illusion Trick
Uneven nails can also be improved visually using simple illusion techniques with nail polish. These tricks help create a cleaner and more balanced overall appearance without changing the actual nail shape.
You can also watch the video below for a better understanding of this technique.
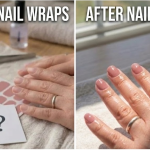
5. Nail Wraps / Stickers
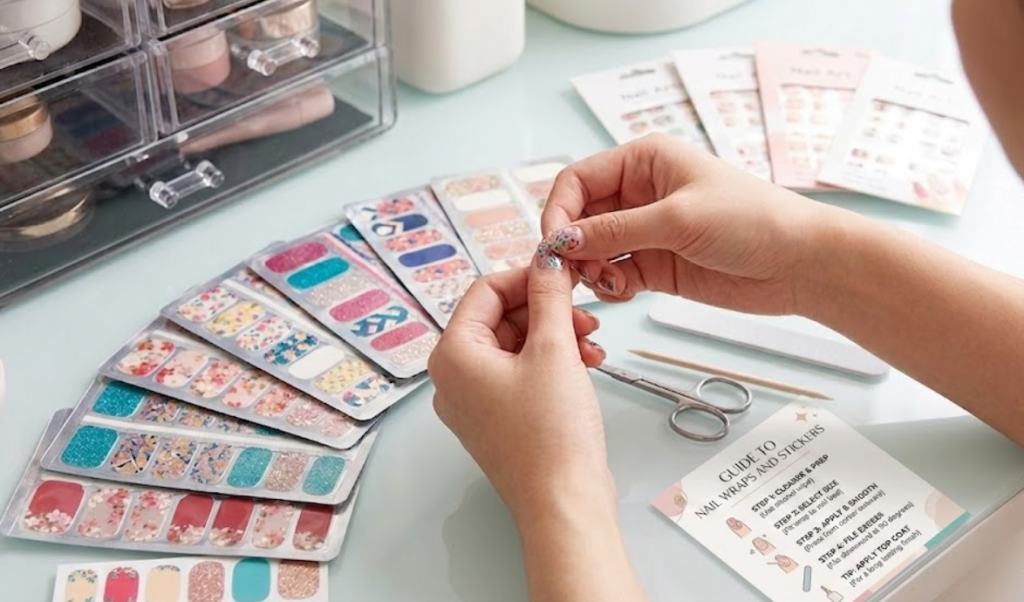
Semi-cured gel nail wraps are thicker than polish and can be applied with a slight overhang. When cured and filed flush with the fingertip, they create a crisp, uniform line that overrides a wobbly natural edge.
Important Care Note: If you use extensions or press-ons to fix shape, please practice proper removal. Do not pry them off. Soak them off gently. Prying will tear layers off the natural nail plate, making the uneven growth problem much worse in the long run.
Final Nail Care Tips from Choosy Nails
Keeping your nails perfectly shaped is easy — the real secret is maintenance. Once you achieve your desired shape, a light weekly touch-up file (just a few strokes in one direction) is enough to keep edges clean and balanced. Regular cuticle oil also helps keep nails strong, flexible, and naturally even.
At the same time, avoid common mistakes that slowly ruin your nail shape — like back-and-forth filing, using dull tools, ignoring cuticle care, or using your nails as tools. These habits can weaken nails and cause uneven growth over time.
With simple care and consistency, your nails can stay smooth, strong, and professionally shaped for a long time.